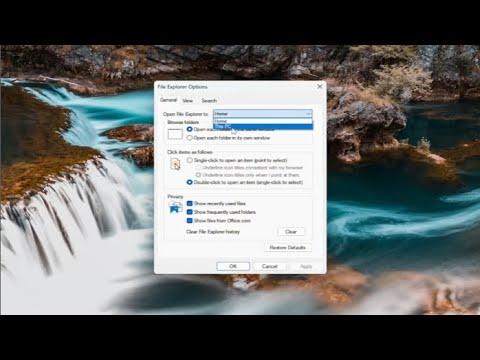
To disable Quick Access in File Explorer on Windows 11, start by opening File Explorer. Once it’s open, go to the “View” tab in the command bar at the top. From there, click on “Options,” which will open the Folder Options dialog. In the Folder Options window, navigate to the “General” tab. Here, you’ll find a section labeled “Privacy.” In this section, there are two checkboxes: “Show recently used files in Quick access” and “Show frequently used folders in Quick access.”
Uncheck both of these boxes to prevent File Explorer from showing recent files and frequently used folders in Quick Access. After unchecking these options, click “Apply” and then “OK” to save your changes. This will stop File Explorer from populating Quick Access with new items. If you want to remove existing items from Quick Access, you can right-click on each item and select “Remove from Quick Access.”
To further ensure that Quick Access does not continue to display previously accessed files or folders, you might also want to clear the existing Quick Access history. Go back to the “Folder Options” window, under the same “General” tab. Click on the “Clear” button next to “Clear File Explorer history.” This action will remove all the cached data that Quick Access uses to display recent files and frequently used folders. Click “Apply” and then “OK” to confirm and exit.
By completing these steps, Quick Access should no longer display recent files or frequently used folders, and it won’t automatically populate with new items you access. This method provides a cleaner, more streamlined File Explorer experience without the distraction of Quick Access.