When I encountered the issue where the DISM (Deployment Imaging Service and Management Tool) scan was stuck at 62.3% and failed with the message “The Source Files Could Not Be Found,” it was a frustrating experience. My system was showing signs of corruption, and I needed to repair it to ensure smooth operation. After some research and trial and error, I was able to resolve the issue, and I’d like to share the process I went through to fix it.
Initially, I had tried running the DISM command to repair the Windows image. DISM is a powerful tool that can repair system images, but it relies on having access to the correct source files. When DISM gets stuck at a particular percentage and returns an error about source files being missing, it usually indicates a problem with the files it needs to complete the operation.
Here’s how I approached solving the problem:
1. **Checking the Windows Update Service:**
The first thing I did was to check if the Windows Update service was running. DISM relies on Windows Update to download necessary files if it can’t find them locally. To check this, I opened the Services application by typing `services.msc` in the Run dialog box (Win + R). I then looked for the “Windows Update” service and made sure it was running. If it wasn’t, I started it and set it to automatically start with Windows.
2. **Using the Windows Update Troubleshooter:**
Next, I ran the Windows Update Troubleshooter. This tool can identify and fix problems related to Windows Update, which can sometimes resolve issues with DISM. To access it, I went to Settings > Update & Security > Troubleshoot > Additional troubleshooters and selected “Windows Update” from the list. The troubleshooter scanned for problems and attempted to fix any issues it found.
3. **Ensuring Correct Windows Version:**
I verified that the Windows version I was running matched the version of the source files DISM was trying to use. If there’s a mismatch, DISM might not be able to find the necessary files. I checked my Windows version by typing `winver` in the Run dialog. I then compared this with the version on my installation media or source files to ensure they were the same.
4. **Using an Installation Media or ISO File:**
Since the error indicated that source files were missing, I decided to use a Windows installation media or ISO file to provide the necessary files manually. I downloaded the latest Windows ISO file from the Microsoft website and mounted it. To mount the ISO, I right-clicked on the file and selected “Mount”. The ISO would appear as a virtual drive.
I then used the following DISM command to specify the source of the files:
“`
DISM /Online /Cleanup-Image /RestoreHealth /Source:X:\sources\install.wim /LimitAccess
“`
Here, `X:` was the drive letter where the ISO was mounted. If the `install.wim` file was not available, I used `install.esd` instead:
“`
DISM /Online /Cleanup-Image /RestoreHealth /Source:X:\sources\install.esd /LimitAccess
“`
5. **Running the SFC Scan:**
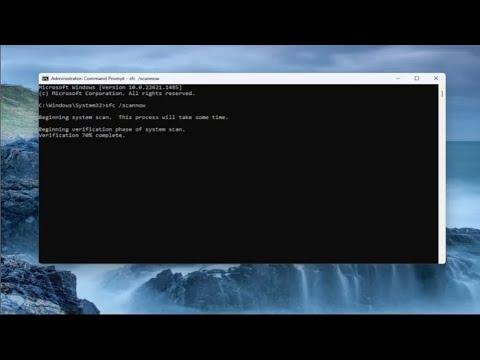
After attempting the DISM repair, I ran the System File Checker (SFC) scan. This tool checks for and repairs corrupted system files. To do this, I opened Command Prompt as an administrator and entered:
“`
sfc /scannow
“`
This scan could take some time, but it helped ensure that any remaining system file issues were addressed.
6. **Checking for Disk Errors:**
Another step I took was to check for disk errors, as sometimes disk issues can cause problems with DISM. I ran the Check Disk utility with the command:
“`
chkdsk /f /r
“`
This command checked for file system errors and bad sectors on the hard drive. If errors were found, the utility would attempt to fix them.
7. **Reviewing DISM Logs:**
I also reviewed the DISM logs for more detailed information about the failure. The log files are located in the `C:\Windows\Logs\DISM` directory. By examining these logs, I was able to find more specific details about what went wrong during the DISM operation. This could help in pinpointing the exact issue if the above steps didn’t resolve it.
8. **Performing a Repair Install:**
If all else failed, I considered performing a repair install of Windows. This method reinstalls Windows without affecting personal files or applications. To do this, I booted from the Windows installation media and selected the “Repair your computer” option. From there, I chose “Troubleshoot” and then “Reset this PC” or “Keep my files” to start the repair process.
By systematically following these steps, I managed to overcome the issue of DISM being stuck at 62.3% and the accompanying error message. It required patience and careful attention to detail, but resolving this problem restored my system’s functionality and stability.
