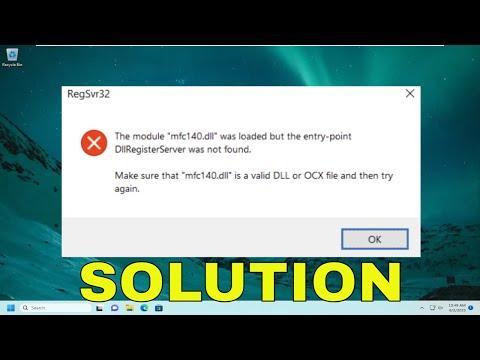
I remember the day clearly when I was faced with one of those frustrating technical issues that seem to come out of nowhere. I was in the middle of installing a critical piece of software that was essential for a project I was working on. The installation process was going smoothly until, suddenly, an error message popped up, and it read: “DllRegisterServer Was Not Found.” This was on my Windows 11 laptop, and I was taken aback. The error message wasn’t just an inconvenience; it was a showstopper for the installation.
I had no idea what to do at first. The message was cryptic and offered no guidance on how to resolve the issue. All it said was that the DllRegisterServer function could not be found in the specified DLL file. I knew that DLL files are crucial system files that are used by various applications, but I wasn’t exactly sure how to proceed when one of these files failed during registration. I tried a few basic troubleshooting steps, like restarting my computer and running the installation again, but nothing worked. The error message persisted, and I felt increasingly frustrated.
After a few moments of panic, I decided to search for solutions online. I came across numerous forum posts and articles discussing similar issues on both Windows 10 and Windows 11. It became clear that this was not an uncommon problem. The suggestions varied widely, but there were a few common steps that seemed to be recommended frequently. I decided to try them one by one to see if they could resolve the issue.
First, I checked to ensure that I was running the installation as an administrator. Sometimes, the lack of administrative privileges can prevent certain operations from completing successfully. To do this, I right-clicked on the installation file and selected “Run as administrator.” Unfortunately, this didn’t resolve the issue, and the error message still appeared. But I was determined to find a solution.
Next, I verified that the DLL file mentioned in the error message was indeed present in the system. I navigated to the directory where the installation files were located and looked for the DLL file. To my surprise, the file was there, but the registration was still failing. It became apparent that the problem wasn’t with the file’s presence but rather with its registration process.
The next logical step was to manually register the DLL file. I opened the Command Prompt with administrative privileges. I did this by typing “cmd” in the Windows search bar, right-clicking on the Command Prompt, and selecting “Run as administrator.” In the Command Prompt window, I typed the following command: “regsvr32 [path to DLL file]” and pressed Enter. I replaced “[path to DLL file]” with the actual path to the DLL file on my system. This command is supposed to register the DLL file and resolve any issues related to it. However, to my dismay, I still received the same error message indicating that DllRegisterServer was not found.
At this point, I realized that there might be a problem with the DLL file itself or its compatibility with my operating system. I decided to download a fresh copy of the DLL file from a trusted source. It’s important to be cautious when downloading DLL files from the internet, as downloading from an unreliable source can introduce new problems or even malware. I made sure to use a reputable site known for providing verified and safe files.
Once I downloaded the new DLL file, I replaced the existing one in the installation directory with this new file. After replacing it, I repeated the process of running the Command Prompt as an administrator and attempted to register the DLL file again. Unfortunately, the error message persisted, which led me to believe that the issue might be more complex than just a missing or corrupted DLL file.
I then came across a suggestion to check for system file corruption. This can be done using the System File Checker tool, which is built into Windows. To use this tool, I opened the Command Prompt as an administrator again and typed “sfc /scannow” and pressed Enter. The System File Checker began scanning my system for corrupted files and attempted to fix them. This process took some time, but once it was completed, I restarted my computer and tried the installation again. The error message still appeared, which meant that the problem persisted despite the system file repair.
Finally, I decided to perform a clean boot of Windows. A clean boot starts Windows with a minimal set of drivers and startup programs, which can help identify if a background program is causing the issue. To perform a clean boot, I pressed Win + R to open the Run dialog, typed “msconfig” and pressed Enter. In the System Configuration window, I went to the “Services” tab, checked the box for “Hide all Microsoft services,” and then clicked “Disable all.” I then went to the “Startup” tab and clicked on “Open Task Manager.” In Task Manager, I disabled all startup items and restarted my computer. After the restart, I tried running the installation again, but unfortunately, the error message remained.
In the end, I realized that the issue was likely with the compatibility of the software with Windows 11. I contacted the software’s support team for assistance, and they confirmed that there were known issues with the software on the latest version of Windows. They provided a workaround and eventually released an update that resolved the problem.
Through this experience, I learned the importance of troubleshooting step by step and being persistent. While it was a challenging issue to resolve, following a systematic approach helped me identify and address the root of the problem.