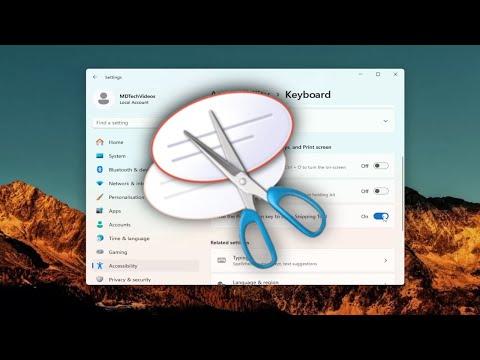
Enabling the Print Screen shortcut for the Snipping Tool in Windows 11 can significantly streamline your screenshot-taking process. Here’s how you can set it up to make capturing images easier and faster.
First, ensure your system is up to date. Windows 11 frequently receives updates that can improve functionality, so having the latest version will help avoid any compatibility issues. Go to the Settings app by pressing `Win + I`, then navigate to `Update & Security` and click on `Check for updates`. Install any available updates to ensure you’re working with the latest features.
Once your system is updated, you can proceed with configuring the Print Screen shortcut. Open the Settings app again and select `Accessibility` from the sidebar. Scroll down to find `Keyboard` and click on it. In the Keyboard settings, locate the `Print Screen shortcut` section. This section allows you to choose what happens when you press the Print Screen key.
By default, the Print Screen key may be set to open the Snipping Tool or the Snip & Sketch tool, depending on your system’s configuration. If it’s not already set to open the Snipping Tool, you can change this by toggling the option. Make sure the checkbox is selected for `Use the Print Screen button to open screen snipping`. This ensures that pressing the Print Screen key will launch the Snipping Tool directly, allowing you to capture screenshots with ease.
In some cases, you might need to manually activate the Snipping Tool if it’s not set as the default option. To do this, search for “Snipping Tool” in the Start menu and open the application. Once it’s open, go to the `Settings` within the Snipping Tool and check if there are any additional configurations needed to link it with the Print Screen key.
For an even smoother experience, you can customize the Snipping Tool to better fit your needs. Within the Snipping Tool, you can select from various snip types such as Rectangular Snip, Freeform Snip, Window Snip, or Fullscreen Snip. Adjust these settings according to your preferences so that when you press the Print Screen key, the tool automatically uses your preferred snip type.
Additionally, consider configuring your Snipping Tool to save screenshots directly to a specific folder. This can be done by navigating to the `Settings` in the Snipping Tool and specifying a default save location. This way, every time you take a screenshot, it will automatically be saved in the folder of your choice, reducing the need for manual file management.
If you encounter any issues or the Print Screen key is not working as expected, try restarting your computer. Sometimes a simple reboot can resolve temporary glitches or conflicts that might be affecting the functionality of keyboard shortcuts.
In summary, enabling the Print Screen shortcut for the Snipping Tool in Windows 11 involves a few straightforward steps: updating your system, adjusting settings in the Accessibility section, and configuring the Snipping Tool according to your preferences. By following these steps, you can optimize your screenshot-taking process and enhance your productivity.
