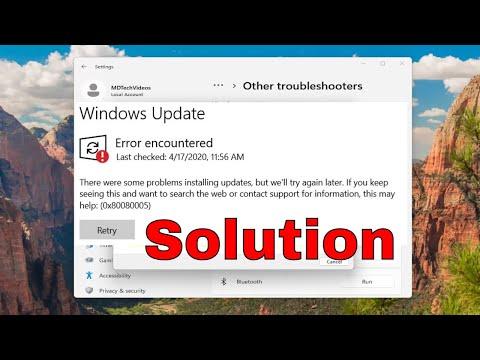
When I first encountered the error code 0x80240438 on my Windows 10 system, I was both frustrated and perplexed. It happened one evening as I was about to start an important project. I had just finished some routine tasks and went to check for updates, only to be greeted with a cryptic message: “There were some problems installing updates.” My initial reaction was disbelief. Updates are supposed to make things better, not create problems.
I decided to tackle this issue methodically. The first thing I did was search online for the error code 0x80240438. It turns out this error is related to Windows Update and usually indicates a problem with downloading or installing updates. I wasn’t the only one experiencing this issue—there were countless others who had faced the same predicament. This gave me a bit of reassurance that I wasn’t alone, but it didn’t solve my problem.
My first step was to check my internet connection. Sometimes, connectivity issues can interfere with the update process. I ran a quick speed test and verified that my connection was stable. I also restarted my router just to be sure. With no issues on the network side, I moved on to the next step.
I then tried to run the Windows Update Troubleshooter. Windows has built-in tools designed to fix common problems, and I figured it was worth a shot. To do this, I went to the Settings app, navigated to “Update & Security,” and then to “Troubleshoot.” Under “Get up and running,” I selected “Windows Update” and ran the troubleshooter. The tool found some issues and attempted to fix them. However, after restarting my computer and checking for updates again, the same error persisted.
Next, I decided to manually clear the Windows Update cache. Sometimes, corrupted files in the update cache can cause issues. To do this, I followed these steps:
- I opened the Command Prompt as an administrator by right-clicking the Start button and selecting “Command Prompt (Admin).”
- I then typed the following commands one by one, pressing Enter after each:
net stop wuauservnet stop cryptSvcnet stop bitsnet stop msiserver
- After stopping these services, I navigated to
C:\Windows\SoftwareDistribution\and deleted the contents of the “SoftwareDistribution” folder. This folder contains update-related files, and deleting its contents would force Windows to create new files the next time it checks for updates. - I then restarted the services I had stopped by typing the following commands:
net start wuauservnet start cryptSvcnet start bitsnet start msiserver
With the update cache cleared and services restarted, I tried to update Windows again. Unfortunately, the error persisted. At this point, I decided to try a more advanced approach by running the System File Checker tool. This tool scans for and repairs corrupted system files that might be causing the issue.
To run the System File Checker, I followed these steps:
- I opened the Command Prompt as an administrator once again.
- I typed
sfc /scannowand pressed Enter. - The scan took some time to complete, and when it finished, it found and fixed some corrupted files. I was hopeful that this would resolve the issue.
After running the System File Checker, I restarted my computer and attempted to update Windows once more. Sadly, the error code 0x80240438 still appeared. I began to suspect that the issue might be related to Windows Update components themselves. As a last resort, I decided to reset the Windows Update components manually.
To do this, I:
- Opened the Command Prompt as an administrator.
- Typed the following commands to stop the Windows Update services:
net stop wuauservnet stop cryptSvcnet stop bitsnet stop msiserver
- I then renamed the
SoftwareDistributionandCatroot2folders by typing:ren C:\Windows\SoftwareDistribution SoftwareDistribution.oldren C:\Windows\System32\catroot2 Catroot2.old
- I restarted the services by typing:
net start wuauservnet start cryptSvcnet start bitsnet start msiserver
After performing these steps, I rebooted my computer and checked for updates again. This time, the update process seemed to proceed without encountering the error code 0x80240438. I felt a wave of relief as the updates began downloading and installing successfully.
The issue was resolved, and my computer was up-to-date. Reflecting on the process, I realized that tackling such problems requires patience and a systematic approach. By methodically addressing each potential cause and applying the appropriate fixes, I was able to overcome the issue. If you encounter a similar problem, I hope my experience can serve as a helpful guide in navigating the troubleshooting process.