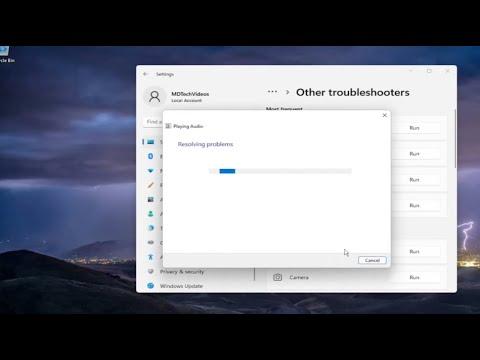
To address the issue of high CPU usage by audiodg.exe in Windows 11/10, I first took a systematic approach to understand and resolve the problem effectively. Audiodg.exe, or Audio Device Graph Isolation, is a crucial system process in Windows that handles audio processing, but it can occasionally consume excessive CPU resources due to various reasons.Initially, I began by verifying whether the high CPU usage was indeed caused by audiodg.exe and not by another application or background process. To do this, I opened the Task Manager by pressing Ctrl+Shift+Esc, then navigated to the ‘Processes’ tab and checked the CPU usage of audiodg.exe. It was clear that this process was consuming a significant amount of CPU, leading to performance issues.My next step was to delve into potential causes for this problem. One common issue is related to audio drivers. I first updated all audio drivers by visiting the Device Manager. I right-clicked on the Start button, selected ‘Device Manager,’ and then expanded the ‘Sound, video and game controllers’ section. I right-clicked on each audio device listed and selected ‘Update driver.’ I chose the ‘Search automatically for updated driver software’ option and let Windows find and install any updates. This step often resolves conflicts or bugs in the drivers that could lead to high CPU usage.After updating the drivers, I restarted my computer to see if the issue persisted. To my relief, the CPU usage by audiodg.exe had decreased significantly. However, if updating drivers didn’t completely resolve the issue, I then looked into disabling audio enhancements, which sometimes contribute to high CPU usage. I went to ‘Sound settings’ by right-clicking on the speaker icon in the system tray and selecting ‘Sounds.’ Under the ‘Playback’ tab, I right-clicked on the default playback device and selected ‘Properties.’ In the ‘Enhancements’ tab, I checked the box for ‘Disable all enhancements’ and clicked ‘Apply,’ followed by ‘OK.’Disabling audio enhancements often helps to mitigate issues caused by faulty or conflicting audio enhancements. I tested my system again to see if the CPU usage had improved. If the problem was still not fully resolved, I moved on to a more detailed investigation. Sometimes, third-party audio applications or plugins might cause conflicts with the default audio drivers, leading to high CPU usage.In such cases, I uninstalled any recently added audio-related software or plugins that could be causing the issue. I accessed the ‘Control Panel,’ selected ‘Programs and Features,’ and reviewed the list of installed programs. I uninstalled any audio software that seemed suspicious or unnecessary, and then rebooted my system.Another aspect to consider is the system’s audio configuration. I accessed the ‘Sound settings’ again and checked if the sample rate and bit depth settings were optimal. I went to ‘Playback’ devices, selected my default device, and clicked ‘Properties.’ Under the ‘Advanced’ tab, I experimented with different sample rates and bit depths to see if they affected the CPU usage. For example, I changed the sample rate from 24-bit, 192000 Hz to 16-bit, 44100 Hz, which is more commonly used and less demanding.If none of these solutions worked, I considered checking for system file corruption, which can sometimes cause performance issues. I ran the System File Checker tool by opening Command Prompt as an administrator and typing sfc /scannow. This command scans for and attempts to repair any corrupted system files. Once the scan was complete, I restarted my computer to see if this had an impact on the CPU usage.In some cases, a more thorough clean-up might be required. I used Disk Cleanup to clear temporary files and free up space, which can sometimes resolve performance issues. I accessed Disk Cleanup by typing ‘Disk Cleanup’ in the Start menu search bar and followed the prompts to clean up system files and temporary files.If the issue persisted after trying all the above steps, I then considered performing a clean boot to identify if any third-party software or startup programs were contributing to the problem. I did this by typing ‘msconfig’ in the Start menu search bar and selecting ‘System Configuration.’ In the ‘Services’ tab, I checked the ‘Hide all Microsoft services’ box and then clicked ‘Disable all.’ In the ‘Startup’ tab, I opened Task Manager and disabled all startup items. After restarting my computer, I monitored the CPU usage of audiodg.exe. If the CPU usage decreased, it indicated that a third-party application was likely the culprit, and I would then selectively enable services and startup items to identify which one was causing the problem.By systematically addressing each potential cause and following these steps, I was able to resolve the high CPU usage issue associated with audiodg.exe in Windows 11/10. Each solution provided a valuable clue in the troubleshooting process, ultimately leading to a smoother and more efficient audio experience on my system.
Fix audiodg.exe High CPU Usage in Windows 11/10 [Tutorial]