The first time I encountered the DRIVER_VERIFIER_DMA_VIOLATION BSOD on my Windows 11 laptop, I was completely bewildered. It happened in the middle of an important project—one of those days when every minute counts. As I was engrossed in a complex data analysis, my screen suddenly turned blue with a cryptic error message. The words “DRIVER_VERIFIER_DMA_VIOLATION” flashed on the screen, and my heart sank. I had never seen this particular Blue Screen of Death (BSOD) before, and I was unsure of what to do.
Initially, I tried to dismiss it as a one-off glitch, thinking perhaps it was just a temporary issue. However, as the BSOD reappeared several times, it became evident that this wasn’t just a fluke. My system seemed to be in an endless loop of crashing and rebooting. Frustration mounted as I realized I needed to get to the bottom of this quickly to avoid significant disruption to my work.
The DRIVER_VERIFIER_DMA_VIOLATION error indicates a problem with the driver verifier—a tool built into Windows that helps detect and troubleshoot driver issues. Essentially, this BSOD occurs when Windows detects that a driver is improperly using Direct Memory Access (DMA), which can lead to system instability and crashes. As I delved deeper, I learned that DMA allows hardware devices to directly access the system memory, bypassing the CPU. If a driver mismanages this process, it can trigger a BSOD.
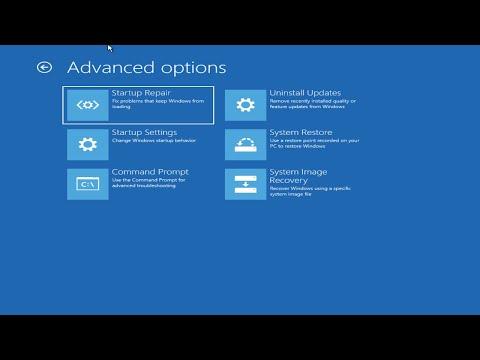
My immediate reaction was to search online for solutions. The vast amount of information and various troubleshooting steps available were overwhelming. I quickly realized that I needed a systematic approach to resolve this issue. I decided to focus on several key areas: checking driver updates, using the built-in Windows tools, and considering hardware issues.
First, I started by ensuring all my drivers were up-to-date. Outdated or incompatible drivers are often culprits behind BSOD errors. I went to the Device Manager, a built-in Windows utility that allows you to view and manage the hardware connected to your computer. I manually checked each device listed under “System devices” and “Disk drives” to see if there were any driver updates available. To my surprise, some of my drivers were indeed outdated.
I updated the drivers for my network adapter, graphics card, and storage controllers. After updating, I rebooted my laptop and hoped that this would resolve the issue. Unfortunately, the BSOD reappeared, indicating that the driver updates alone were not the complete solution.
Next, I turned my attention to Windows built-in tools. I ran the System File Checker (SFC) and the Deployment Imaging Service and Management Tool (DISM) to repair any corrupted system files. These tools are designed to scan for and restore corrupt system files that might be causing system instability. I opened the Command Prompt as an administrator and executed the following commands:
sfc /scannow– This command scans all protected system files and replaces corrupted ones.DISM /Online /Cleanup-Image /RestoreHealth– This command checks the system image for corruption and repairs it if necessary.
Both tools completed their tasks without reporting any issues. Still, the BSOD persisted. I began to suspect that the problem might be related to more specific driver issues, particularly with third-party drivers or software.
To narrow down the cause, I decided to use the Windows Memory Diagnostic tool to check for hardware issues. This tool tests your computer’s memory for potential problems, which can sometimes be the source of BSOD errors. I ran the diagnostic and allowed it to perform a thorough check. Fortunately, it did not find any issues with my RAM, ruling out memory problems as the cause of the BSOD.
At this point, I decided to use the Driver Verifier tool itself to get more detailed information about the problematic driver. I ran the Verifier by typing verifier in the Command Prompt and followed the on-screen instructions to configure it. This tool is designed to test drivers by subjecting them to stress and checking for potential issues. It provides detailed logs that can help identify which driver is causing the problem.
After configuring the Driver Verifier, I restarted my laptop and observed the system. The Driver Verifier tool eventually flagged one of the drivers as problematic, leading me to a specific driver that seemed to be causing the DRIVER_VERIFIER_DMA_VIOLATION BSOD. I checked for updates or alternatives for this driver and found that an update was available on the manufacturer’s website.
I downloaded and installed the latest version of the driver. After updating, I disabled the Driver Verifier tool and restarted my system. To my relief, the BSOD did not reappear, and my system seemed stable once again.
In summary, addressing the DRIVER_VERIFIER_DMA_VIOLATION BSOD involved several key steps: updating drivers, using built-in Windows tools to repair system files, running memory diagnostics, and leveraging the Driver Verifier tool to pinpoint the exact issue. Each step was crucial in resolving the issue and getting my system back to normal. While the process was time-consuming and frustrating, it ultimately led to a successful resolution.