Last week, I faced an unexpected problem with Google Chrome on my Windows 11 computer. I was in the middle of a crucial project, working on a tight deadline, when suddenly, Chrome refused to open. I clicked on the icon, but nothing happened. I tried launching it from the taskbar, from the Start menu, and even from the desktop shortcut. Each time, the same frustrating result: the browser wouldn’t load.
Initially, I was baffled. My first instinct was to restart my computer, thinking it might resolve the issue. After a quick reboot, I tried to open Chrome again. Still, the problem persisted. I realized it was time to dig deeper. I needed a solution because my work was piling up, and I couldn’t afford to waste time. I decided to tackle the problem systematically.
The first step I took was to check if there were any obvious issues with my system. I opened Task Manager by pressing Ctrl+Shift+Esc to see if Chrome was running in the background. To my surprise, there were several instances of Chrome listed as “Not Responding.” I selected them and clicked “End Task” to close these processes. After doing this, I attempted to open Chrome once more, but the problem remained unresolved.
Next, I tried to launch Chrome in incognito mode by running it from the command line. I opened Command Prompt and typed chrome.exe --incognito, but again, Chrome didn’t open. This approach was clearly not working. I needed a more effective strategy.
I then turned to the built-in Windows troubleshooting tools. I accessed the Settings app, navigated to “System,” and selected “Troubleshoot.” From there, I chose “Other troubleshooters” and ran the “Windows Store Apps” troubleshooter, hoping it might identify and fix any issues related to app functionality. Unfortunately, the troubleshooter didn’t report any problems, and Chrome still wouldn’t start.
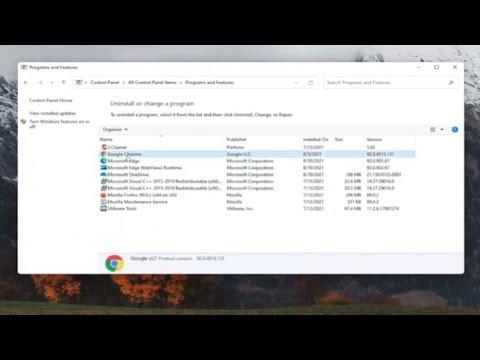
Realizing I needed a fresh approach, I decided to reinstall Google Chrome. First, I uninstalled the browser by going to Settings, selecting “Apps,” then “Installed apps,” and finding Google Chrome in the list. I clicked “Uninstall” and followed the prompts to remove the browser from my system. After the uninstallation was complete, I visited another browser to download the latest version of Google Chrome from the official website. I carefully followed the installation instructions and hoped that a fresh install would solve the problem.
After reinstalling Chrome, I attempted to open it again. This time, it worked! The browser launched smoothly, and my tabs and extensions were all intact. It was a relief to see my familiar browsing environment back in place. However, I realized that reinstalling Chrome might not be the ideal solution for everyone, especially if it resulted in losing personal settings or if the problem recurs.
To ensure that I didn’t face this issue again, I decided to check for any system or software updates that might have contributed to the problem. I went to Settings, selected “Windows Update,” and checked for updates. I installed any pending updates to ensure my system was up-to-date. Additionally, I reviewed my antivirus and security software to make sure they weren’t blocking Chrome or causing compatibility issues.
To further safeguard against future issues, I also explored other potential causes. I checked for recent changes to my system that might have affected Chrome’s performance. For instance, I reviewed recent software installations and updates to see if any of them might have conflicted with Chrome. I made a habit of keeping track of system changes to troubleshoot similar problems more effectively in the future.
Another precaution I took was to clear any unnecessary files and folders from my computer. I used the built-in Disk Cleanup tool to remove temporary files and other non-essential data. A clutter-free system can sometimes resolve unexpected issues by freeing up resources and eliminating potential conflicts.
Finally, I set up a system restore point. This way, if something went wrong again, I could revert my system to a previous state where everything was functioning correctly. I went to Control Panel, selected “System and Security,” then “System,” and clicked on “System Protection” to create a restore point. This added an extra layer of security and peace of mind.
In summary, encountering the issue where Google Chrome wouldn’t open on my Windows 11 system was initially a frustrating experience. By systematically addressing the problem—checking for background processes, using troubleshooting tools, reinstalling the browser, updating my system, and taking preventative measures—I was able to resolve the issue effectively. This experience taught me the importance of a methodical approach to troubleshooting and the value of keeping my system well-maintained.
