For the past few weeks, I’ve been wrestling with a frustrating issue on my Windows 11 laptop: the dreaded “No Network Access” error related to IPv6 connectivity. This problem first appeared when I noticed that my internet was running unusually slow. After a series of diagnostic checks, I discovered that my system was having trouble with IPv6 connectivity. The error message seemed straightforward, but the solution wasn’t as clear-cut.
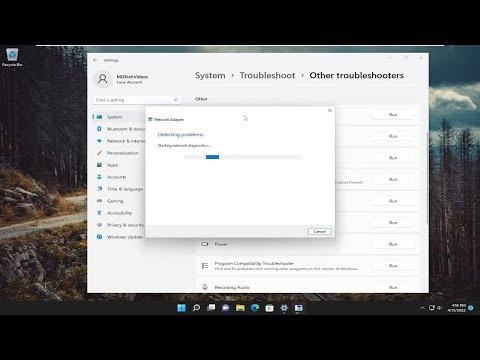
Initially, I thought it might be a temporary glitch or a minor configuration issue, so I decided to restart my computer. However, after rebooting, the problem persisted. I then ran the Windows Network Troubleshooter, which detected the issue but couldn’t resolve it. The troubleshooter suggested that there might be a problem with the network adapter or settings, but it wasn’t specific about how to fix it.
I began to dig deeper, suspecting that the issue might be related to the IPv6 settings. My first step was to check if IPv6 was enabled on my network adapter. I went to the Network and Sharing Center, selected my active network connection, and clicked on “Properties.” In the list of items used by the connection, I noticed that the Internet Protocol Version 6 (TCP/IPv6) checkbox was indeed checked. So it seemed like IPv6 was enabled, but something still wasn’t right.
Next, I decided to flush the DNS cache and reset the TCP/IP stack. I opened Command Prompt as an administrator and ran the following commands: ipconfig /flushdns and netsh int ip reset. These commands are often recommended for resolving network-related issues, so I hoped they would clear any corruption in the network settings. After executing these commands, I rebooted my laptop and checked my network connection again. Unfortunately, the problem was still there.
Determined to solve the issue, I started exploring more advanced troubleshooting steps. I checked if my network drivers were up-to-date. I visited the Device Manager, expanded the Network adapters section, and right-clicked on my network adapter. I selected “Update driver” and chose the option to search automatically for updated driver software. The system found an updated driver, which I installed. After another reboot, I hoped the problem would be resolved, but to my dismay, it persisted.
At this point, I wondered if there was an issue with the IPv6 settings themselves. I decided to manually set my IPv6 DNS servers to see if that made any difference. I went back to the properties of my network connection, selected Internet Protocol Version 6 (TCP/IPv6), and clicked on “Properties.” I chose the option to “Use the following DNS server addresses” and entered Google’s public DNS servers: 8.8.8.8 and 8.8.4.4. After applying these settings and rebooting, I still faced the same issue.
The next logical step was to check the Windows registry for any potential issues related to IPv6. I opened the Registry Editor by typing regedit in the Start menu search bar and navigated to HKEY_LOCAL_MACHINE\SYSTEM\CurrentControlSet\Services\Tcpip6\Parameters. I reviewed the settings here, but everything seemed to be in order. Still, I made a backup of the registry before making any changes, just in case.
With no success so far, I decided to test the connection on a different network to rule out issues with my home network. I connected my laptop to a public Wi-Fi network at a local café, but the “No Network Access” error appeared there as well. This confirmed that the problem was with my laptop rather than my home network.
I reached out to Microsoft Support for help, and after a brief chat, they suggested a few more steps. They recommended resetting the network settings entirely through Windows. This involved opening the Settings app, going to Network & Internet, and selecting the “Status” tab. There, I found the option to “Network reset,” which would remove and reinstall network adapters and set everything back to default. I decided to give it a try.
I clicked on “Network reset,” confirmed my choice, and allowed Windows to reset the network settings. After my laptop rebooted, I reconnected to my network, and to my relief, the “No Network Access” error was gone. My IPv6 connectivity was back to normal, and my internet speed had returned to its usual performance.
In summary, resolving the IPv6 connectivity issue involved several steps: checking and updating network drivers, flushing the DNS cache, resetting the TCP/IP stack, manually configuring DNS servers, and eventually performing a complete network reset. Although it was a frustrating process, each step brought me closer to a solution. The network reset was the final step that ultimately resolved the problem, restoring my laptop’s connectivity and ensuring that my internet connection was stable once again.