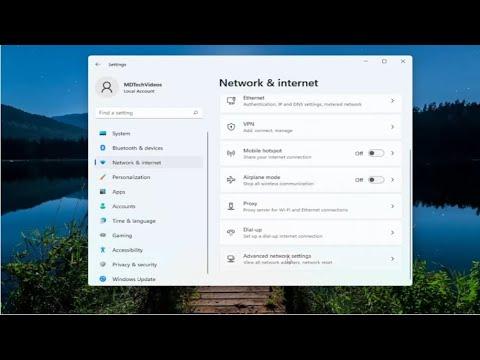
When I first encountered the problem of low Wi-Fi signal strength on my Windows 11 laptop, it felt like a frustrating roadblock to my productivity. I was working from home, and my Wi-Fi connection was crucial for a smooth workflow. One day, I noticed that my once-stable connection started to falter. The signal strength indicator in my system tray was showing fewer bars, and I experienced frequent dropouts and sluggish performance. It was clear that something was amiss, so I decided to delve into fixing this issue myself.
The initial step I took was to check whether the issue was specific to my device or if it was a more widespread problem. I compared the Wi-Fi signal strength on my laptop with other devices in my home, such as my smartphone and tablet. To my dismay, the other devices had a stable connection while my laptop struggled. This disparity pointed to a problem with my laptop rather than the Wi-Fi network itself.
I started by examining the basic settings on my Windows 11 laptop. First, I made sure that my Wi-Fi was turned on. It might sound simple, but sometimes the most straightforward checks can reveal the issue. Next, I clicked on the network icon in the system tray to view available networks and selected my Wi-Fi network. I chose the option to forget the network and then reconnected by entering the password again. This simple reset often resolves connectivity issues.
Despite this, my Wi-Fi signal remained weak. I decided to explore more advanced settings. I opened the Device Manager by searching for it in the Start menu. Under the “Network adapters” section, I located my Wi-Fi adapter and right-clicked on it to select “Properties.” I navigated to the “Driver” tab and clicked on “Update Driver.” Windows searched for the latest driver updates, and after installation, I rebooted my laptop. Updating drivers can often resolve compatibility issues that affect Wi-Fi performance.
Another step I took was to adjust my power settings. Sometimes, power-saving features can throttle the performance of the Wi-Fi adapter. I went to the Control Panel and opened “Power Options.” I selected the “High performance” power plan to ensure that my laptop wasn’t limiting the Wi-Fi adapter’s performance to save power. I also checked the advanced power settings to ensure that the Wi-Fi adapter was set to maximum performance.
Realizing that interference could be a factor, I examined the placement of my router and laptop. Wi-Fi signals can be disrupted by physical obstructions and electronic devices. I moved my router to a more central location and away from potential sources of interference like microwaves and cordless phones. I also made sure that my laptop was not too far from the router, as distance can weaken the signal.
I also accessed the router settings to check for potential issues. I logged into my router’s configuration page by typing its IP address into a web browser. Here, I looked at the wireless settings and made sure that the channel selection was set to automatic. Sometimes, routers operating on crowded channels can suffer from interference. By allowing the router to select the best channel automatically, I hoped to reduce this interference.
Another adjustment I made involved checking the Wi-Fi frequency bands. My router supported both 2.4 GHz and 5 GHz bands, and I ensured that my laptop was connected to the 5 GHz band when possible. The 5 GHz band typically offers faster speeds and less interference compared to the 2.4 GHz band. I accessed the network settings on my laptop and manually selected the 5 GHz band to improve my connection.
Despite these efforts, I continued to experience issues. It led me to consider that there might be a hardware problem with my Wi-Fi adapter. I decided to use a USB Wi-Fi adapter as a temporary solution. By plugging in an external Wi-Fi adapter, I bypassed the internal adapter and tested the connection. The external adapter provided a stronger signal, confirming that my internal adapter might be the source of the problem.
To address the hardware issue, I considered a more permanent solution. I researched replacement options for the internal Wi-Fi adapter and found that many third-party adapters are available for laptops. I purchased a compatible internal adapter and installed it myself, following online guides and tutorials. After installing the new adapter, I reconfigured my Wi-Fi settings, and the signal strength significantly improved.
In conclusion, fixing the low Wi-Fi signal strength on my Windows 11 laptop involved a series of steps, from basic troubleshooting and driver updates to checking for interference and hardware issues. By delving into various solutions, I was able to identify and resolve the problem, ultimately restoring a reliable Wi-Fi connection. My experience taught me that patience and a systematic approach are key when tackling technical issues.
