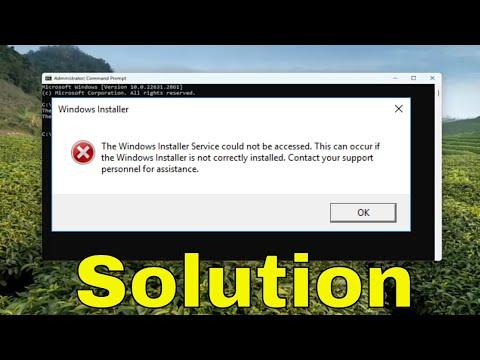
I never imagined that something as mundane as installing a new application could lead to such a frustrating ordeal. It all began on an otherwise ordinary day when I decided to install a new piece of software that I had been eagerly anticipating. However, what seemed like a simple task quickly turned into a headache when I encountered the “Windows Installer Service Could Not Be Accessed” error.
At first, I brushed it off as a minor glitch. I figured that a quick restart of my computer might solve the problem. After rebooting, I tried installing the application again, but the error message persisted. This was becoming increasingly frustrating. The installer kept failing, and I had no idea what was causing the problem or how to resolve it. It felt like I was stuck in a loop, and the error message was taunting me with its unyielding presence.
Determined not to let this issue derail my plans, I started researching potential solutions. The problem, as I discovered, is often related to issues with the Windows Installer service itself, which is a crucial component for installing and managing software on a Windows operating system. The service is responsible for handling the installation, maintenance, and removal of programs, so when it’s not working correctly, it can prevent new software from being installed.
My first step in resolving this issue was to ensure that the Windows Installer service was actually running. To do this, I opened the Services application by pressing Windows Key + R to bring up the Run dialog box, then typing services.msc and hitting Enter. In the Services window, I scrolled through the list of services until I found “Windows Installer.” I checked the status of the service, and to my dismay, it was not running.
Next, I attempted to start the Windows Installer service manually. I right-clicked on the “Windows Installer” entry and selected “Start.” Unfortunately, I was greeted with an error message indicating that the service could not be started. This was a setback, but I was determined to find a solution.
I realized that the issue might be related to problems with the system files or registry. To address this, I decided to use the System File Checker (SFC) tool. This tool is built into Windows and can scan for and repair corrupted system files. I opened a Command Prompt with administrative privileges by searching for “cmd” in the Start menu, right-clicking on Command Prompt, and selecting “Run as administrator.” In the Command Prompt window, I typed sfc /scannow and pressed Enter. The scan took some time, but eventually, it reported that it had found and repaired some corrupted files.
After running the SFC tool, I tried installing the application once more, but the error persisted. Clearly, the problem wasn’t resolved yet. I decided to delve deeper into the issue and looked into the Windows registry. I knew that modifying the registry could be risky, so I made sure to back it up before making any changes.
I accessed the registry editor by pressing Windows Key + R, typing regedit, and pressing Enter. In the registry editor, I navigated to HKEY_LOCAL_MACHINE\SYSTEM\CurrentControlSet\Services\MSIServer. I checked the value of the “ImagePath” entry to ensure it was correct. For Windows, the correct path should be %SystemRoot%\System32\msiexec.exe /V. If this path was incorrect, it could cause the installer service to fail.
While checking the registry settings, I also made sure that the permissions for the Windows Installer service were set correctly. I looked at the permissions tab for the MSIServer key and confirmed that the SYSTEM account had full control.
Still, the error wasn’t resolved, so I considered the possibility that there might be a more fundamental issue with Windows Installer itself. I decided to re-register the Windows Installer service. To do this, I returned to the Command Prompt with administrative privileges and entered the following commands:
bashmsiexec /unregister msiexec /regserver
The first command unregistered the Windows Installer service, and the second command re-registered it. After executing these commands, I restarted my computer and attempted the installation again. This time, the installation process proceeded without any issues. The error had been resolved, and I was finally able to install the application I had been looking forward to.
Reflecting on the process, I realized how critical it is to understand the various components of your operating system and how they interact. The Windows Installer service is a vital part of managing software installations, and when it fails, it can disrupt your entire workflow. Through a combination of checking service status, using built-in repair tools, and carefully examining system settings, I was able to resolve the issue and get back to my regular tasks.
This experience taught me the importance of patience and persistence when dealing with technical issues. While it was frustrating at times, taking a systematic approach to troubleshooting ultimately led to a successful resolution. And with the application now installed and running smoothly, I could finally enjoy the software I had been eagerly waiting for.