I was having a frustrating day when I encountered the Windows Update Error 0x80240016 on my Windows 11 system. It all started when I tried to check for updates, hoping to resolve some minor issues I’d been having. Instead of the usual smooth process, I was met with a cryptic error code that seemed to block my progress entirely.
Initially, I felt a wave of panic as I searched online for a solution, only to be bombarded with various fixes that seemed complicated and time-consuming. I was determined to resolve this issue without having to resort to drastic measures like reinstalling the entire operating system. Here’s how I tackled the problem step by step.
First, I made sure my internet connection was stable. Sometimes, connectivity issues can cause problems with updates, so I checked my network settings and ensured everything was working as it should. With a reliable connection confirmed, I moved on to the next step.
The next logical step was to restart my computer. It sounds simple, but many issues can be resolved by simply rebooting the system. I performed a full restart rather than a quick reboot to ensure that all processes and services were properly reset. After restarting, I tried checking for updates again, but unfortunately, the error persisted.
Realizing that this might be a deeper issue, I decided to run the Windows Update Troubleshooter. This tool is designed to identify and fix problems with Windows Update automatically. To run the troubleshooter, I went to Settings, then to Update & Security, and selected Troubleshoot. From there, I chose “Additional troubleshooters” and clicked on “Windows Update.” I followed the on-screen instructions, which included letting the troubleshooter scan for issues and applying any fixes it suggested. Despite this effort, the error 0x80240016 remained stubbornly in place.
Next, I decided to clear the Windows Update cache. This cache can sometimes become corrupted, leading to various update issues. To clear the cache, I needed to stop the Windows Update service and delete the temporary files associated with it. I opened Command Prompt as an administrator and entered the following commands:
shellnet stop wuauserv net stop cryptSvc net stop bits net stop msiserver
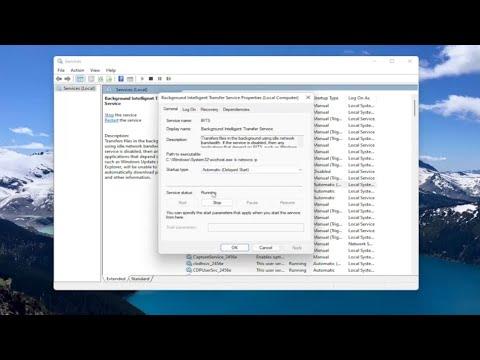
These commands stopped the Windows Update service, Cryptographic Service, Background Intelligent Transfer Service, and Windows Installer service. After stopping these services, I navigated to the C:\Windows\SoftwareDistribution\ folder and deleted its contents. This folder holds temporary update files, and clearing it can sometimes resolve update issues.
After deleting the contents, I restarted the services using the following commands:
shellnet start wuauserv net start cryptSvc net start bits net start msiserver
I then attempted to check for updates again. Although this method often resolves update issues, the error 0x80240016 persisted in my case.
Realizing that this error might be related to a more specific issue, I decided to use the System File Checker (SFC) and Deployment Imaging Service and Management Tool (DISM) to repair any potentially corrupted system files. I opened Command Prompt as an administrator and first ran the SFC scan by entering:
shellsfc /scannow
This process took some time, but it eventually finished with a message indicating whether any issues were found and repaired. Following this, I used DISM by entering:
shellDISM /Online /Cleanup-Image /RestoreHealth
DISM scans and repairs the system image, which can resolve a range of issues including those related to Windows Update. After these scans completed, I restarted my computer and checked for updates again. To my disappointment, the error 0x80240016 was still there.
Determined to fix the problem, I considered performing an in-place upgrade using the Windows Installation Media. This method involves downloading the Windows 11 installation media and running the setup to repair the existing installation without losing personal files or applications. I downloaded the media creation tool from Microsoft’s website, created an installation USB drive, and ran the setup.
During the setup process, I chose the option to keep personal files and apps, which allowed me to repair the operating system while retaining my existing data. This process took some time but was worth the effort. After the installation was complete, I restarted my computer and tried to check for updates once more.
To my relief, the update process worked correctly this time, and the error 0x80240016 was finally resolved. It was a long and sometimes frustrating journey, but by systematically troubleshooting the issue and using a combination of methods, I was able to fix the problem and get my system back to normal.
In hindsight, encountering the Windows Update Error 0x80240016 was a learning experience. It reminded me of the importance of patience and the value of exploring different troubleshooting steps. Whether you’re facing this specific error or another issue, following a methodical approach and using available tools can often lead to a successful resolution.
