I’ve recently decided to dive into how to add extensions in Microsoft Edge. It’s something I had heard about but never really explored until now. The process turned out to be quite straightforward once I got the hang of it. Here’s a step-by-step guide on how you can add extensions to your Microsoft Edge browser.
First things first, open your Microsoft Edge browser. You’ll want to start by accessing the Edge Add-ons store, where you can browse through various extensions available for the browser. To do this, click on the three horizontal dots located at the top-right corner of the browser window to open the menu. From the dropdown, select “Extensions.” This will take you to the extensions management page.
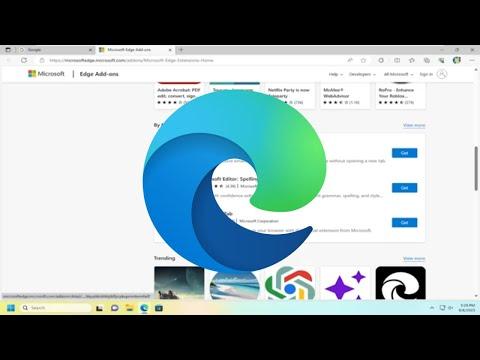
On the Extensions page, you’ll see a button that says “Get extensions from Microsoft Store.” Clicking this will redirect you to the Microsoft Edge Add-ons store. The store is a great place to discover all kinds of extensions, from productivity tools to fun add-ons.
Once you’re in the Add-ons store, you’ll see a search bar at the top of the page. You can use this to find a specific extension if you already know what you’re looking for. If you’re just browsing, you can scroll through the various categories or check out the featured and popular extensions. When you find an extension that catches your eye, click on it to view more details.
On the extension’s page, you’ll see a brief description of what it does, screenshots, and sometimes user reviews. If you decide that this extension is what you need, click the “Get” button. This will start the process of adding the extension to your browser.
You might be prompted to confirm the installation. If so, click “Add extension” to proceed. The browser will then download and install the extension. Once the installation is complete, you may see a notification confirming that the extension has been added. You might also be asked to grant certain permissions to the extension; make sure to read these carefully before agreeing.
After installation, you’ll find the extension’s icon next to the address bar in your browser. You can click on this icon to access the extension’s features or settings. Some extensions might require additional setup or configuration, which you can usually do by clicking on the icon and following the on-screen instructions.
If you ever want to manage your extensions, you can return to the Extensions page by clicking on the three horizontal dots, selecting “Extensions,” and then “Manage extensions.” Here, you can enable or disable extensions, remove them, or adjust their settings.
Adding extensions to Microsoft Edge can greatly enhance your browsing experience, allowing you to tailor the browser to your needs. Whether you’re looking to increase productivity, improve security, or just have some fun, there’s likely an extension out there that can help.
I found that delving into the world of extensions opened up a lot of new possibilities for me. It’s amazing how a few simple add-ons can transform the way you use your browser. Now that I’ve gone through the process and seen how beneficial it can be, I’m excited to explore even more extensions and see how they can further enhance my browsing experience.
In conclusion, adding extensions to Microsoft Edge is a simple and effective way to customize your browsing experience. By following these steps, you can easily find and install the extensions that best suit your needs. Whether you’re looking to boost productivity, add new features, or simply enjoy a more personalized browsing experience, extensions can offer the ultimate enhancement to your Microsoft Edge browser.
