I remember the first time I encountered the issue of needing to change the font size in Windows 10. I had recently upgraded my computer and was excited to explore the new features of the operating system. Everything seemed to be running smoothly until I noticed that the text on my screen was a bit too small for my comfort. My eyes started straining, and I realized that the default font size was not ideal for my needs. It was then that I decided to dive into the settings to find a way to adjust the font size.
The first thing I did was open the Settings app by clicking on the Start menu and selecting the gear icon. This brought up the main Settings window, where I started searching for options related to display and text size. I knew that the ultimate goal was to make the text easier to read without affecting the overall layout of my screen too much.
I navigated to the “Ease of Access” section within the Settings app. Here, I found various accessibility options that could potentially help me adjust the font size. I clicked on “Display” in the left-hand menu under the Ease of Access section. This opened up a range of options related to screen brightness, resolution, and text size.
The option that caught my eye was labeled “Make text bigger.” This seemed like the perfect solution to my problem. I slid the bar to increase the text size, which immediately showed a preview of how the text would look with the new size. It was fascinating to see the changes in real-time. I adjusted the slider until the text size felt just right—large enough to read comfortably but not so large that it disrupted the layout of my desktop.
Once I was satisfied with the preview, I clicked the “Apply” button to confirm the changes. Windows 10 took a moment to process the new settings, and I noticed that the text size across various applications and menus had been adjusted accordingly. My initial apprehension was gone; the text was now much easier to read, and my eyes felt more at ease.
However, I also wanted to make sure that this change wouldn’t negatively affect the appearance of other elements on my screen. I explored different applications and settings to check if the font size adjustment had a consistent impact. Fortunately, the changes were well-integrated, and most applications adapted smoothly to the new text size.
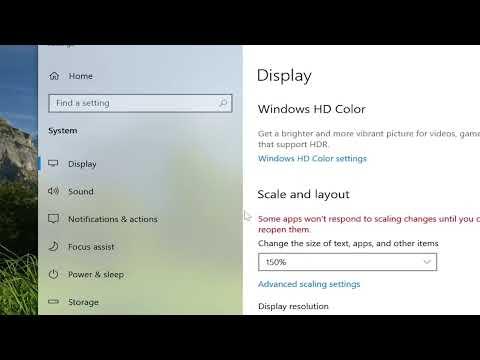
In addition to changing the font size, I also explored other settings that could enhance my overall experience. I adjusted the screen resolution and scaling options to ensure that everything appeared sharp and clear. The combination of these adjustments helped me achieve the perfect balance between readability and screen layout.
I also discovered that Windows 10 offers additional customization options for those who need even more control over text and display settings. For example, I found options for adjusting the size of various UI elements, such as icons and app bars, which could be useful if I needed to fine-tune the display further.
Overall, the process of changing the font size in Windows 10 was relatively straightforward and intuitive. By following these steps, I was able to enhance my reading comfort and ensure that my screen was optimized for my preferences. It was a valuable lesson in how a few simple adjustments can make a significant difference in my daily computing experience.
Reflecting on this experience, I realized the importance of taking the time to explore and customize system settings to better suit my needs. Windows 10 provides a range of options that can be tailored to individual preferences, and learning how to navigate these settings empowered me to create a more comfortable and efficient workspace.