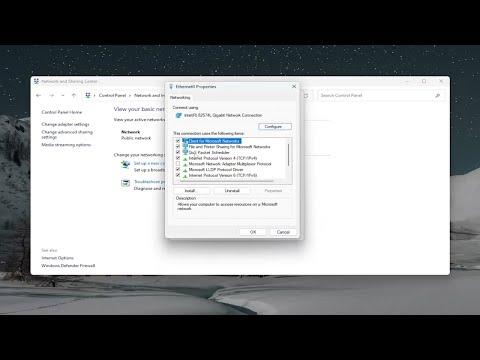
I remember the day I stumbled upon the issue of changing my IP address in Windows 11. It was a bright Monday morning, and I was gearing up for a week of remote work. My internet connection had been acting up, and after a bit of troubleshooting, it became clear that the problem lay in my IP address. I’d heard changing the IP address could resolve connectivity issues, but I had never done it myself. The idea seemed daunting at first, but I knew I had to figure it out if I wanted to get back to work efficiently.
The process of changing an IP address in Windows 11 isn’t as complicated as it might initially seem. To start, I had to access the network settings. I clicked on the Start menu and then selected “Settings” from the list. This brought me to the Settings window, where I could see various options like System, Devices, Network & Internet, and more. I was looking for the Network & Internet section, so I clicked on that.
Once in the Network & Internet section, I noticed several choices, such as Status, Wi-Fi, Ethernet, and Advanced network settings. Since I was connected via Ethernet, I selected “Ethernet.” Here, I saw the network I was connected to and clicked on it. This led me to a page where I could view and change properties related to the Ethernet connection.
To change my IP address, I needed to delve into the properties of the network connection. I scrolled down to find the “IP assignment” section. This was where I could manage my IP settings. By default, it was set to “Automatic (DHCP),” which meant my IP address was assigned automatically by the router. To manually assign a new IP address, I had to switch to “Manual” mode.
Enabling the Manual option brought up fields for entering a new IP address, Subnet mask, and Gateway. I had to decide on a new IP address that was suitable for my network. I opted for an IP address that was within the range of my router but outside the range typically assigned to other devices. This would help avoid conflicts with other devices on the network. I entered the new IP address, along with the appropriate Subnet mask and Gateway information.
The Subnet mask and Gateway were also crucial in ensuring that the new IP address functioned correctly within my network. For most home networks, the Subnet mask is typically 255.255.255.0, and the Gateway is the IP address of the router. I made sure these were correctly entered.
After filling out the details, I saved the changes. The system then applied the new IP address. I waited a moment and checked my connection to ensure everything was working correctly. To verify the change, I opened the Command Prompt by typing “cmd” in the Start menu search bar and selecting “Command Prompt.” I then typed “ipconfig” and pressed Enter. This command displayed all the network configuration details, including the IP address currently in use.
Seeing the new IP address in the output reassured me that the change had been applied successfully. My internet connection was functioning smoothly again, and the issues I had been experiencing seemed to be resolved.
In addition to this, I also explored the option of changing the IP address in Windows 10, as the process is quite similar. On a Windows 10 machine, I would start by opening the Settings app and navigating to the Network & Internet section. From there, I would select either Wi-Fi or Ethernet, depending on the type of connection. The rest of the steps involve accessing the IP assignment settings and manually entering the new IP address, just like in Windows 11.
Overall, the process of changing an IP address in Windows 11 or 10 is straightforward once you know where to look. It’s a useful skill to have, especially when dealing with network issues. By following these steps, I was able to address the connectivity problems and get back to work without further interruption.
