I recently faced a frustrating issue with my Windows 11 system. It all started one evening when I was trying to adjust some settings on my laptop to improve my network security. I had heard that changing the network profile type from Public to Private could offer enhanced protection for my files and devices, but I wasn’t sure how to make this change. Initially, I was a bit overwhelmed by the complexity of the settings, but with a bit of patience and experimentation, I managed to figure it out. Here’s a step-by-step recount of how I resolved the problem.
The first thing I noticed was that my network profile was set to Public, and this setting was restricting access to my shared files and devices on the network. This became apparent when I tried to access shared folders from my other devices and was met with a frustrating “access denied” message. I realized that switching to a Private network profile would be more appropriate for my home setup, as it would allow for easier sharing between my devices while maintaining a secure environment.
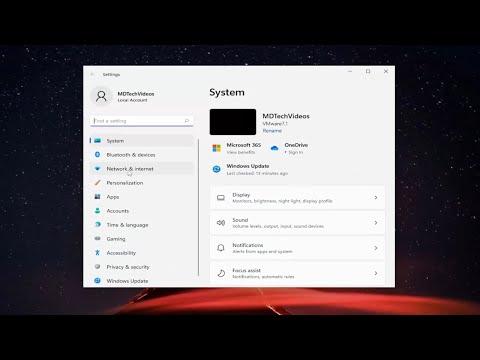
To begin, I opened the Settings app on my Windows 11 laptop. I navigated to the Network & internet section, where I saw options related to my active network connection. Since my network was currently set to Public, I needed to change it to Private. I clicked on the Wi-Fi or Ethernet option, depending on my connection type, and this opened a new window with detailed information about my network.
In this window, there was a section labeled Network profile, which was set to Public by default. Here, I needed to make a change. I clicked on the “Public” option, and this brought up a menu with two choices: Public and Private. I selected “Private” to change the network profile type. Immediately, I noticed that the settings adjusted themselves, and my network was now recognized as a Private network.
Changing the network profile type was a crucial step, but I wanted to make sure everything was configured correctly. To confirm the change, I went back to the Network & internet settings and checked the status of my network. It now displayed as Private, which was exactly what I wanted.
However, I didn’t stop there. I also wanted to ensure that my network was fully optimized for sharing. I went to the “Network and Sharing Center,” which is accessed through the Control Panel. Here, I could see my network listed with the new Private profile. I clicked on the “Change advanced sharing settings” option to review and adjust my sharing preferences.
In the advanced sharing settings, I found several options related to file and printer sharing. I made sure that file and printer sharing was turned on, as this would allow me to share files and printers with other devices on the network. Additionally, I enabled network discovery to ensure that my computer would be visible to other devices connected to the same network.
After making these adjustments, I clicked “Save changes” to apply the new settings. To test the new configuration, I tried accessing shared folders and printers from another device on my network. Everything worked smoothly, and I was able to access my files and printers without any issues.
Overall, the process of changing the network profile type in Windows 11 was relatively straightforward once I understood the steps involved. Starting from the Settings app, navigating to the network settings, and then selecting the appropriate profile type made the transition smooth. Additionally, verifying the settings through the Network and Sharing Center and adjusting advanced sharing settings ensured that everything was configured correctly for my needs.
The entire experience taught me the importance of understanding network settings and how they can impact my ability to share files and devices. By switching from a Public to a Private network profile, I improved my network’s functionality while maintaining a secure environment for my data. If anyone else finds themselves in a similar situation, I hope this recount of my experience can provide some helpful guidance and make the process easier to navigate.