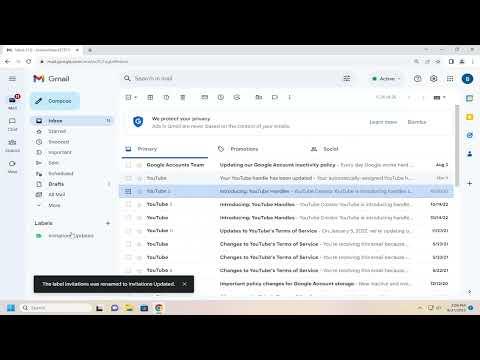
Changing the name of a label in Gmail is something I found myself needing to do recently. It’s not always immediately clear how to go about it, but once you understand the process, it becomes quite straightforward. I’ll walk you through the steps I took to successfully rename a label in Gmail.To begin with, I logged into my Gmail account. This is the first and most crucial step since all label management happens within the Gmail interface. After logging in, I was taken to my inbox. The next step involved locating the list of labels on the left side of the screen. These labels are often found in the sidebar, where you also see your main categories like Inbox, Sent, and Drafts.If I couldn’t see all the labels right away, I clicked on “More” to expand the list. This step is important because Gmail hides some labels under “More” to keep the sidebar uncluttered. Once I found the label I wanted to rename, I hovered my cursor over it. This action triggered a small set of options to appear next to the label name.I noticed three vertical dots (also known as the “More” button) appear next to the label name. I clicked on these dots to open a dropdown menu with several options. Among these options, there was one labeled “Edit.” Clicking on “Edit” took me to a new window where I could change the label’s name.In this window, I saw a text field where the current name of the label was displayed. I simply replaced the existing name with the new one I wanted. As I typed, I could see the new name appearing in real-time. It was crucial to ensure that the new name accurately reflected the purpose of the label, as this would help me stay organized and quickly find emails under the label in the future.After typing the new name, I clicked “Save” to apply the changes. Gmail updated the label name immediately, and I could see the new name reflected in the label list on the left side of my inbox. It was a satisfying moment to see the changes take effect instantly. I also checked a few emails that were categorized under this label to confirm that everything was still organized correctly, and the emails were still associated with the renamed label.In case I needed to revert to the original name or make further adjustments, the process was quite flexible. I could repeat the same steps—hover over the label, click the “More” button, select “Edit,” and change the name as needed. This flexibility is helpful for ongoing label management, especially if my organizational needs evolve.Overall, renaming a label in Gmail turned out to be a simple process that required only a few clicks. The interface was user-friendly and provided clear options for managing labels. The ability to rename labels is a small but powerful feature that helps maintain an organized email environment. It allows me to tailor my labels to better fit my evolving needs and ensure that my Gmail account remains a productive tool for managing communication.One additional point worth mentioning is that renaming a label does not affect the emails that were previously categorized under that label. The emails remain in the label and are just displayed under the new name. This ensures that there is no loss of information or reorganization required beyond renaming the label itself.If you ever find yourself needing to change a label name in Gmail, remember that the process is quick and simple. It’s a small task, but it makes a big difference in keeping your email organized and manageable. The steps I followed should help guide you through the process seamlessly, ensuring that you can rename your labels with ease and continue to use Gmail effectively for all your communication needs.
How to Change the Name of a Label in Gmail [Gmail]
