I remember the first time I encountered an issue with screen resolution on my Windows 11 laptop; it was quite a frustrating experience. I was working on a critical project for work, and suddenly, the display on my laptop seemed off. Everything looked stretched and out of proportion. It was like trying to read a book through a warped lens. I realized I had to figure out how to check and change the screen resolution to get everything back to normal.
The issue began on a Monday morning. I had just finished setting up my new laptop and was diving into a project. The screen looked fine initially, but as I started working, I noticed that some applications appeared unusually large while others seemed too small. I couldn’t figure out why, so I decided to dive into the settings. What I discovered was that the screen resolution might have been inadvertently changed, causing the visual inconsistencies.
I started by accessing the display settings. To do this, I clicked on the Start menu, which is conveniently located on the taskbar. From there, I selected the gear icon to open the Settings app. It felt a bit overwhelming with all the options presented, but I knew I was looking for something related to display or system settings.
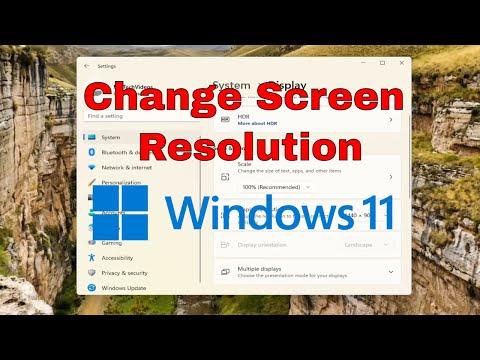
Navigating through the Settings app, I found that the relevant section was labeled “System.” Within the “System” category, there was an option titled “Display.” I clicked on that, and a new screen appeared with various options related to display settings.
The first thing I noticed was a section labeled “Scale & Layout.” Here, I saw a drop-down menu for “Display resolution.” This drop-down menu was exactly what I needed to check and adjust the screen resolution. The resolution that was currently selected didn’t seem right, and it was clear that this was causing the problem.
To correct the issue, I clicked on the drop-down menu, which showed a list of available resolutions. Each option was accompanied by a description of the resolution, such as “1920 x 1080” or “2560 x 1440.” I knew that my laptop’s native resolution was 1920 x 1080, so I selected that option.
Once I selected the correct resolution, I had to confirm the change. Windows 11 asked me if I wanted to keep the new resolution or revert to the previous one. I clicked on “Keep changes,” and immediately, the display adjusted to the new resolution. Everything looked much clearer and properly scaled.
After setting the resolution, I took a moment to check if everything was working as expected. I opened a few different applications and browsed through some websites to make sure the display issue was resolved. The icons and text were back to their normal size, and the screen no longer looked stretched or distorted.
However, I noticed another issue while adjusting the resolution: the scaling settings also needed some adjustment. The “Scale & Layout” section allowed me to adjust the size of text, apps, and other items. Since I had changed the resolution, I also had to tweak the scaling settings to make sure that everything was appropriately sized for my eyes.
To adjust the scaling settings, I returned to the “Display” settings page. Under “Scale & Layout,” there was an option labeled “Scale.” I selected a different scaling percentage to find the right balance between size and clarity. I experimented with a few different options until I found one that felt comfortable for my use.
In some cases, you might encounter a situation where the resolution you need isn’t listed or available. In such instances, it could be due to outdated graphics drivers or other system issues. If this happens, updating your graphics drivers might resolve the problem. I decided to check for updates to ensure everything was up-to-date.
I went back to the Start menu and typed “Device Manager” into the search bar. Opening Device Manager, I expanded the “Display adapters” section and right-clicked on my graphics card. I selected “Update driver” from the context menu and chose the option to search automatically for updated driver software. Windows searched for and installed the latest driver updates.
After updating the drivers, I repeated the process of checking and changing the screen resolution. This time, I found that the resolution options were more varied, and I could select the optimal one for my needs.
Ultimately, resolving the screen resolution issue on Windows 11 involved a combination of checking and adjusting the display settings and ensuring that all drivers were up-to-date. It was a bit of a learning curve, but once I figured it out, it was straightforward.
Now, whenever I face display issues, I follow the same steps to diagnose and resolve the problem. It’s a useful skill to have, especially when working on tasks that require precise visuals. The experience taught me to stay calm and methodical when troubleshooting technical issues, and I’ve become more adept at managing my display settings on Windows 11.
