I was having a frustrating issue with my Windows 11 PC; it seemed like no matter what I did, I couldn’t keep my disk space from dwindling away. I’d often find myself staring at that alarming low-disk-space warning, and it felt like the situation was spiraling out of control. I decided it was time to get to the bottom of this problem and find a way to reclaim my disk space.
The first thing I did was to dive into the settings to understand what was consuming so much space. I navigated to Settings > System > Storage. Here, Windows 11 provides a clear breakdown of what’s eating up your disk space. I was surprised to find that temporary files and system files were taking up a significant amount of space. I could also see large files and apps that I no longer needed or used. This view was my starting point.
I began by cleaning up the temporary files. I clicked on the “Temporary files” section, which offered options to delete various types of temporary data. This included system created files, browser cache, and old downloads. I checked all the boxes except for “Downloads” (since I didn’t want to accidentally delete anything important) and then clicked the “Remove files” button. This alone freed up a decent amount of space and made me feel like I was making progress.
Next, I turned my attention to the “Apps & features” section. Here, I saw a list of all installed applications along with their size. I started by sorting the list by size to identify the largest applications. I found some software that I hadn’t used in months and uninstalled it. To uninstall an app, I simply clicked on it, selected “Uninstall,” and followed the on-screen instructions. It was satisfying to see the disk space freeing up as I removed these unused programs.
One thing that particularly caught my eye was the “Large files” section under Storage. This tool helped me identify any large files that I might have overlooked. I reviewed these files and decided to move some of them to an external hard drive. For files that I no longer needed, I deleted them. This was a bit of a manual process, but it was effective.
Additionally, I explored the “OneDrive” settings. Since OneDrive is integrated into Windows 11, it automatically backs up files to the cloud. I enabled the “Files On-Demand” feature, which allows me to see and access all my OneDrive files without having them all stored locally on my PC. This was a game-changer for managing disk space, as it reduced the amount of data stored on my local drive while still keeping my files accessible.
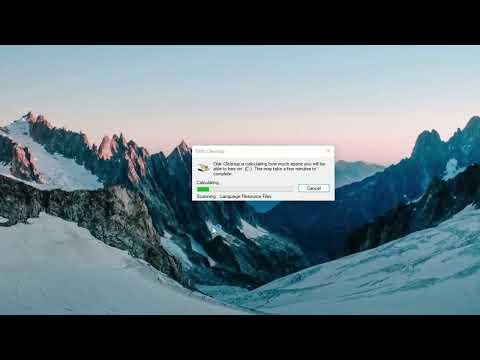
I also took some time to check for system updates. Sometimes, old update files and caches can accumulate and take up space. I went to Settings > Update & Security > Windows Update and clicked on “Check for updates.” Even though my system was up-to-date, I ran the “Disk Cleanup” utility to remove old Windows update files. To access this tool, I typed “Disk Cleanup” into the search bar, selected the utility, and then chose the drive I wanted to clean. I checked the box for “Windows Update Cleanup” and clicked “OK” to delete the outdated files.
Furthermore, I made use of the built-in “Storage Sense” feature in Windows 11. This tool automates disk cleanup by regularly removing temporary files, emptying the Recycle Bin, and cleaning up old system files. I configured Storage Sense to run automatically and set it to clean up files older than 30 days. This setup ensured that my disk space stayed relatively clear without requiring constant manual intervention.
In my quest to free up disk space, I also discovered that some files were stored in the “Recycle Bin” after being deleted. I emptied the Recycle Bin regularly to ensure that deleted files were actually removed from my disk. To do this, I right-clicked on the Recycle Bin icon on my desktop and selected “Empty Recycle Bin.”
Finally, I took a step to ensure this problem didn’t resurface. I began monitoring my disk space usage more actively. I regularly checked the Storage settings to keep an eye on what was taking up space and addressed issues promptly. I also created a habit of cleaning up temporary files and uninstalling unused applications on a monthly basis.
By following these steps, I was able to clean up a significant amount of disk space and prevent the problem from recurring. It required a bit of effort and ongoing maintenance, but it was worth it to have my system running smoothly and efficiently again.
