I recently encountered a problem that many Windows users might face at some point—converting a basic disk to a dynamic disk. The issue arose when I was setting up a new storage configuration for my computer. I had a basic disk with a simple partition scheme, but I needed more advanced features such as spanning, striping, or mirroring volumes, which are only available with dynamic disks. Here’s how I tackled the issue and converted my basic disk to a dynamic disk.
The problem began when I realized that my existing basic disk configuration was too limiting. I wanted to combine multiple physical disks into a single volume to increase storage capacity and enhance performance. The ultimate goal was to set up a RAID array, which required dynamic disks. I knew that dynamic disks offer features like creating volumes that span multiple disks or provide fault tolerance through mirroring, which are essential for my setup.
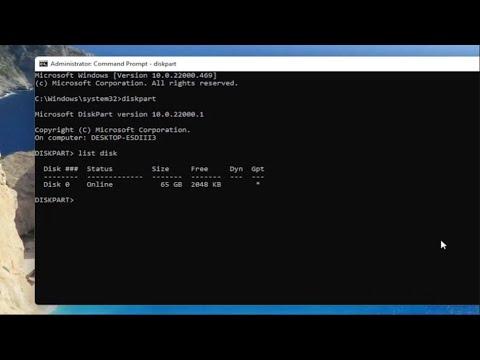
First, I needed to understand the distinction between basic and dynamic disks. A basic disk is the default type used in Windows and supports primary partitions, extended partitions, and logical drives. On the other hand, a dynamic disk supports a broader range of volume types and is not limited by the constraints of basic disks. To make this transition, I had to convert my disk from basic to dynamic.
Before starting the conversion process, I made sure to back up all important data. This step is crucial because any disk operation carries a risk of data loss. I used an external hard drive to ensure that I had copies of all my critical files. Once the backup was complete, I proceeded with the conversion.
The conversion process is fairly straightforward using Windows’ built-in Disk Management tool. I began by opening the Disk Management utility. You can do this by right-clicking on the Start button and selecting “Disk Management” from the menu. In the Disk Management window, I saw a list of all my disks and partitions. I located the basic disk I wanted to convert and ensured that it did not have any volumes that could not be converted.
The next step was to right-click on the disk that needed conversion and select “Convert to Dynamic Disk” from the context menu. A dialog box appeared, confirming my choice and warning that the conversion would make the disk dynamic. After reviewing the warning, I clicked “Yes” to proceed. The system then processed the conversion. This part of the process took only a few minutes and did not require a reboot.
Once the conversion was complete, I had to verify that everything was functioning correctly. I checked the Disk Management tool to ensure that the disk was now listed as a dynamic disk. All the partitions were intact, and I was able to see the new configuration options that dynamic disks offer. At this point, I was ready to create the new volumes I needed.
Using the Disk Management tool, I created a new volume by right-clicking on the unallocated space on my dynamic disk and selecting “New Volume.” The New Volume Wizard guided me through the process. I chose the type of volume I wanted to create—such as a simple volume, spanned volume, striped volume, or mirrored volume—depending on my needs. For my setup, I opted for a spanned volume to extend the storage across multiple disks.
I followed the prompts to specify the size of the volume, assign a drive letter, and format the volume. After completing these steps, I had a new dynamic volume ready to use. The whole process was relatively smooth, and the Disk Management tool made it easy to handle.
After setting up the new volumes, I restored my backed-up data to the newly configured dynamic disk. I was pleased to see that all files were intact and accessible. The dynamic disk configuration allowed me to make full use of the new storage capabilities and ensured that my data was managed efficiently.
In summary, converting a basic disk to a dynamic disk on Windows is a manageable process that involves backing up data, using the Disk Management tool, and following a few straightforward steps. By understanding the differences between basic and dynamic disks and carefully managing the conversion process, I was able to enhance my system’s storage capabilities and achieve my ultimate goal of a more flexible and powerful storage configuration.