I remember the day I encountered a problem that seemed minor at first but soon turned into a real headache. It all started when I decided to tackle the clutter on my Windows 11 computer. I had been working on a large project involving numerous printouts, and I found myself constantly navigating through various menus just to print a document. It felt like a waste of time and became increasingly frustrating.
Initially, I thought it was just a matter of getting used to the system. However, after a few days of repetitively searching for the printer option and going through multiple clicks, I realized there had to be a more efficient way to handle this. I did some research and discovered that I could actually create a printer shortcut on my desktop. This would allow me to access the printer settings and print documents directly with a single click, eliminating the repetitive navigation through menus.
Here’s how I resolved the issue by creating a printer shortcut on my Windows 11 computer:
First, I began by making sure my printer was properly set up and connected to my computer. This was essential because the shortcut would only work if the printer was recognized by the system. I verified that my printer was listed under “Printers & Scanners” in the Windows Settings. Once I confirmed that my printer was correctly installed, I proceeded with creating the shortcut.
To start, I right-clicked on an empty area of my desktop. A context menu appeared, and from it, I selected “New” and then “Shortcut.” This opened a window prompting me to enter the location of the item for which I wanted to create a shortcut. In this window, I needed to specify the exact location or command that would be used to open the printer settings.
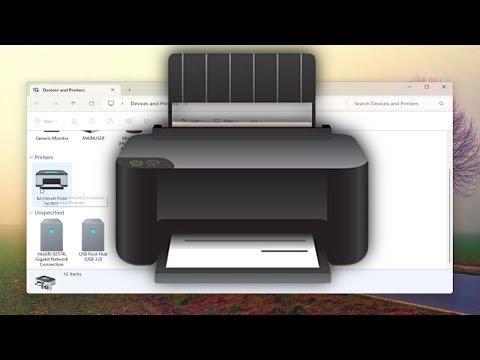
To find the correct location, I navigated to the “Control Panel.” I did this by typing “Control Panel” in the Windows search bar and selecting it from the search results. In the Control Panel, I clicked on “Hardware and Sound” and then “Devices and Printers.” Here, I saw all the connected printers and devices. I right-clicked on my printer’s icon and selected “Create shortcut.” Windows then informed me that a shortcut would be created on the desktop.
However, I found that this method didn’t always work perfectly. The shortcut created this way sometimes did not directly lead me to the printer settings or required additional configuration. So, I decided to use a different approach that was a bit more direct.
I went back to the desktop and right-clicked again to create a new shortcut. This time, instead of navigating through the Control Panel, I used a direct command to access the printer settings. In the location field of the new shortcut creation wizard, I typed in the following command: shell:PrintersFolder. This command directly opens the folder containing all the printers connected to the computer.
After typing in the command, I clicked “Next” and then gave the shortcut a name, such as “Printer Settings” or “Printer Shortcut.” I clicked “Finish” to create the shortcut on my desktop. Now, whenever I needed to access my printer or change its settings, I simply double-clicked this shortcut, which took me straight to the printers and scanners settings.
Additionally, I learned that if I wanted to print a document directly without going through menus, I could also create a print shortcut for a specific printer. To do this, I went to the “Printers & Scanners” settings in the Windows Settings app. I selected my printer from the list, clicked on “Manage,” and then chose “Printing Preferences.” In the Printing Preferences window, I clicked “Create Shortcut” from the options available. This action added a shortcut directly to the printer’s preferences on my desktop.
By setting up these shortcuts, I streamlined my workflow significantly. I no longer had to waste time navigating through multiple menus to print a document or access printer settings. This simple solution made a world of difference in my daily productivity, and I was relieved to have found an efficient way to handle my printing tasks.
In summary, creating a printer shortcut on my Windows 11 computer was a practical solution to a problem that initially seemed small but had grown into a significant inconvenience. By creating a shortcut using the shell:PrintersFolder command and utilizing the direct shortcut options in the printer settings, I was able to make my printing tasks much more efficient. If you find yourself in a similar situation, I highly recommend trying these methods to simplify your own printing process.
