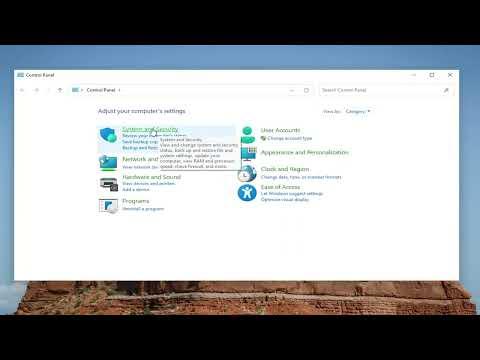
Creating a system image backup in Windows 11 is a crucial step in safeguarding your data and ensuring that you can restore your system to a functional state in the event of a hardware failure, software corruption, or other unforeseen issues. I recently went through the process of creating a system image backup, and it turned out to be a straightforward procedure once I understood the necessary steps. Here’s how I did it.First, I made sure that I had an external hard drive ready. This drive needed to have enough space to accommodate the backup image, which would be a complete copy of my system drive. I connected the external drive to my computer and ensured that it was recognized by Windows 11.To begin the backup process, I opened the Control Panel. Even though Windows 11 features a more modern Settings app, the system image backup option is still found in the traditional Control Panel. I accessed it by pressing the Windows key on my keyboard, typing “Control Panel,” and selecting it from the search results. Once inside the Control Panel, I navigated to the “System and Security” section. From there, I clicked on “File History,” which is the feature typically used for file backups, but I found the link to “System Image Backup” in the bottom-left corner of the File History window.Clicking on “System Image Backup” took me to a separate window where I could start the process. I chose the option to “Create a system image” from the left-hand sidebar. Windows then began preparing the necessary files for the backup. This preparation involves scanning the system to determine which drives need to be included in the backup.I was prompted to choose where to save the backup image. Since I had an external hard drive connected, I selected the “On a hard disk” option and chose my external drive from the list of available drives. I verified that there was enough free space on the drive to accommodate the backup, as the size of the system image would depend on the amount of data and the size of the system partition.Once I selected the external drive, I clicked “Next” to proceed. The next screen provided a summary of the drives that would be included in the backup. Typically, this includes the system drive (usually C:) where Windows is installed, as well as any other drives that have system-related data. I reviewed this list carefully to ensure that all necessary drives were included and clicked “Start Backup” to initiate the process.The backup process took some time, depending on the amount of data and the speed of my external drive. Windows began creating a complete image of the selected drives and saving it to the external hard drive. During this process, I made sure not to disconnect the external drive or turn off my computer, as interruptions could lead to incomplete backups or errors.Once the backup was complete, Windows provided a summary of the process, including the location of the backup files and any errors encountered. It’s important to note that the system image backup includes everything on the system drive, including the operating system, installed programs, settings, and personal files. This makes it a comprehensive backup solution that can restore the entire system to its state at the time of the backup.After completing the backup, I took a moment to ensure that I had a system repair disc or recovery drive, as these tools are essential for restoring the system image in case of a major issue. Windows 11 doesn’t create a system repair disc automatically, so I had to create one manually. I went back to the Control Panel and accessed the “Backup and Restore (Windows 7)” option, which is where I found the option to create a system repair disc. I followed the prompts to create the disc, which involved inserting a blank CD or DVD into my optical drive. Alternatively, I could create a USB recovery drive if I preferred.With the system image backup complete and the recovery tools prepared, I felt confident that I could recover my system if anything went wrong. Regularly updating the system image backup is also a good practice to ensure that the backup remains current and includes recent changes to the system and files.In summary, creating a system image backup in Windows 11 is a straightforward process that involves preparing an external drive, using the built-in backup tools in the Control Panel, and ensuring that you have recovery media on hand. By following these steps, I ensured that my system is protected and that I can restore it quickly if needed.
How to Create a System Image Backup in Windows 11