Creating a template in Word was something I never really thought I needed until I found myself buried under a mountain of repetitive tasks. It all started one day when I was working on a series of reports for my job. The format of these reports was always the same—same headings, same structure, same font style. However, each time I had to start from scratch, reapplying the same formatting and layout, which was both time-consuming and tedious.
One day, as I sat at my desk, staring at the endless repetition, I realized there had to be a better way. That’s when it dawned on me: creating a template in Word could save me countless hours and ensure consistency across all my documents. I decided to dive into it and learn how to create a template that would streamline my workflow and make my life a lot easier.
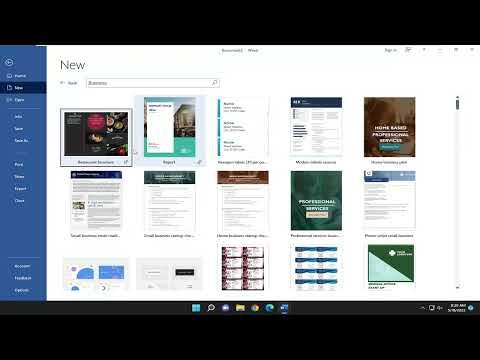
To start, I opened Microsoft Word and created a new blank document. The first thing I did was set up the basic structure of the document. I began by adding the headers and footers. This involved clicking on the “Insert” tab and then selecting “Header” or “Footer” from the drop-down menu. I chose a style that suited my needs and added the necessary text, like my company’s name and contact details, which would appear on every page of the report.
Next, I focused on setting up the main body of the document. I created a title section where I used larger, bold fonts to indicate the title of the report. Below that, I set up placeholder text for the introduction, main content, and conclusion sections. This was just a simple way of showing where the content would go. I used a combination of headings and subheadings to structure the sections clearly, applying consistent styles to each heading level through the “Home” tab and “Styles” section.
I also decided to include some pre-formatted sections that I frequently used, like bullet points and numbered lists, to ensure that these were already set up in the template. I clicked on the “Home” tab, and from the “Paragraph” group, I selected the bullet point and numbering styles I wanted. I adjusted the indentation and spacing to make sure everything looked clean and professional.
Once the basic structure was in place, I moved on to customizing the look of the document. I chose a color scheme and applied it consistently throughout the document. This meant adjusting the font colors for the headings and adding a bit of color to the borders and lines to make the document visually appealing. I did this by going to the “Design” tab and selecting “Colors” to choose a color scheme that fit my needs.
One of the most critical parts was setting up styles for different parts of the document. I created custom styles for headings, subheadings, and body text. This was essential for maintaining consistency and making future edits easier. To create a new style, I went to the “Home” tab, clicked on “Styles,” and then selected “Create a Style.” I named the style, adjusted the formatting, and applied it to the relevant sections of the document.
After setting up the formatting and styles, I added some placeholder text where necessary. This placeholder text served as a guide for what kind of content should be included in each section. I made sure to leave enough space for text and used brackets or brackets to indicate where specific information should go. This way, anyone using the template would know exactly where to input their content.
Finally, I saved the document as a template. To do this, I clicked on “File,” then “Save As,” and selected “Word Template” from the list of file types. I named the template and saved it in a location where I could easily find it later. Saving it as a template ensured that I could always start with this pre-designed structure without altering the original document.
Creating the template was only the beginning. The real test was using it repeatedly to see if it made my work more efficient. Over time, I found that using the template significantly reduced the time I spent on formatting and allowed me to focus more on the content itself. The consistency across all my reports was another major benefit. I no longer had to worry about different formatting styles or missing sections; everything was already set up perfectly.
The process of creating a template in Word turned out to be one of the best decisions I made for improving my workflow. It’s amazing how something as simple as a template can make such a big difference in productivity and consistency. Now, every time I start a new report or document, I can simply open my template, fill in the content, and be confident that everything will be perfectly formatted and ready for submission.
Looking back, I’m grateful I took the time to learn how to create a template. It saved me countless hours and headaches, and it’s a tool I continue to use for various projects. If you’re dealing with repetitive documents or reports, I highly recommend taking the time to create a template. It’s a small investment that pays off tremendously in terms of efficiency and professionalism.