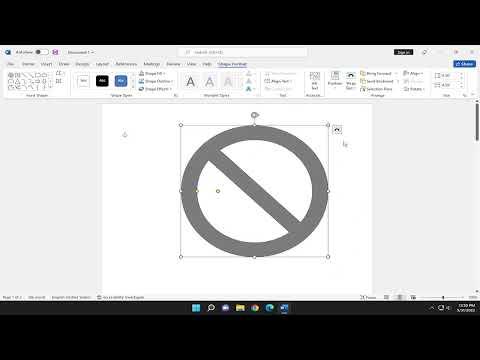
It all began on a hectic Monday morning. I was racing against a tight deadline for a project report at work. The document needed a visual element to clarify some complex data, and I knew that inserting shapes into Microsoft Word would be the best way to achieve this. However, I had never done this before and felt unsure about how to proceed. The clock was ticking, and the pressure was mounting. I took a deep breath and decided to tackle the task head-on. Here’s how I navigated through the process of creating and inserting shapes in Microsoft Word, transforming my initial confusion into a smooth workflow.
First, I opened Microsoft Word and started with a blank document. I knew that shapes could be inserted from the “Insert” tab, so I located it on the ribbon at the top of the screen. As I clicked on “Insert,” I saw various options available, including tables, pictures, and shapes. I clicked on “Shapes,” and a drop-down menu appeared with a variety of shape options.
I needed to select a shape that would best illustrate the data I wanted to present. The drop-down menu was organized into categories: Lines, Rectangles, Basic Shapes, Block Arrows, Flowchart, Stars and Banners, and Callouts. For my needs, a rectangle seemed appropriate for creating a text box where I could place additional explanatory notes. I clicked on “Rectangle” and my cursor changed to a crosshair, indicating that I could now draw the shape directly on the document.
I dragged the cursor across the area where I wanted the rectangle to appear. As I released the mouse button, the rectangle was drawn onto the document. It was a basic rectangle, but I could customize it further. I clicked on the rectangle to select it, and several handles appeared around its edges. These handles allowed me to resize the shape. I adjusted the size by dragging the handles until it fit perfectly within my layout.
Next, I wanted to format the shape to make it visually appealing and aligned with my document’s design. I clicked on the “Format” tab that appeared when the shape was selected. Here, I found a range of formatting options. I started by changing the shape’s fill color. I chose a light blue color from the “Shape Fill” dropdown menu to ensure it complemented the text and did not distract from it. I also decided to add a border to the rectangle, so I clicked on “Shape Outline” and selected a darker blue to make the rectangle stand out more.
To further enhance the shape, I explored the “Shape Effects” menu. This allowed me to add shadow, reflection, and glow effects. I applied a subtle shadow effect to give the rectangle a 3D look, making it stand out more on the page. This small touch helped the shape to catch the reader’s eye and emphasize the key information.
Adding text inside the shape was the next step. I simply clicked inside the rectangle and started typing. The text automatically adjusted to fit the shape, but I needed to format it to ensure readability. I highlighted the text and used the “Home” tab to change the font style, size, and color. I chose a clean, professional font and increased the size slightly to ensure the text was legible. I also centered the text within the shape to improve its alignment and visual appeal.
With the text added, I reviewed the document to ensure the shape was correctly positioned. I wanted to make sure it did not interfere with other elements on the page. I adjusted the position of the rectangle by clicking and dragging it to the desired location. If needed, I used the alignment guides that appeared as I moved the shape to ensure it was properly aligned with other content.
The final touch was to group the shape with other related elements in my document. If there were multiple shapes or text boxes, grouping them together would ensure they stayed aligned when I moved them. To do this, I selected all the elements I wanted to group by holding down the “Ctrl” key and clicking each item. Then, I right-clicked on one of the selected elements and chose “Group” from the context menu. This grouped all the selected items together, making it easy to move or resize them as a single unit.
By following these steps, I successfully created and inserted shapes into my Microsoft Word document, enhancing its visual appeal and effectiveness. What started as a daunting task became a straightforward process once I familiarized myself with the tools and options available. The key was to explore the formatting options and practice until I achieved the desired result. In the end, the shapes I added helped to clarify the information in my report, making it more engaging and easier to understand.
Reflecting on this experience, I realized that mastering even simple tasks in software like Microsoft Word can significantly improve the quality of my work. The ability to create and customize shapes allowed me to present my information more effectively and with greater visual impact. I felt a sense of accomplishment and relief as I completed the task, and the final report was well-received. This experience taught me the value of learning new skills and applying them to enhance my work, no matter how small the task might seem.
