I never realized how crucial mastering Excel could be until I found myself in a rather tight spot at work. It all began during a critical project where I was tasked with organizing data for a presentation. As I juggled multiple tasks, I realized that my single worksheet was becoming overcrowded. The data was getting increasingly complex, and it became clear that I needed to create new worksheets to manage the information more effectively.
At first, I was overwhelmed by the prospect. I had used Excel for basic tasks before, but the idea of organizing data across multiple worksheets felt like uncharted territory. I needed to get this right, or my presentation could turn into a disorganized mess. I decided to dive into the tutorial, determined to find a solution.
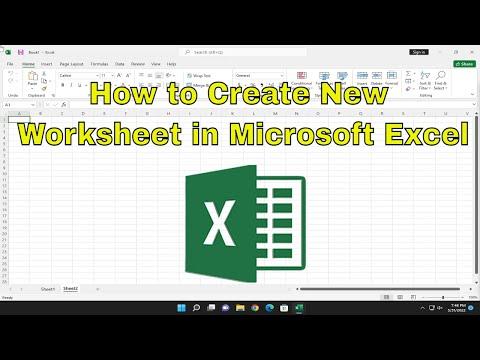
To begin, I opened Microsoft Excel and took a deep breath. My initial task was to locate where I could add new worksheets. I noticed at the bottom of my Excel window, there was a tab labeled with the name of my current worksheet. Next to it were small tabs with a plus sign. Clicking this plus sign was the first step in creating a new worksheet.
The new worksheet appeared immediately, labeled as “Sheet2.” At this point, I realized that managing multiple sheets would involve not just creating them but also organizing and naming them effectively. I clicked on the tab “Sheet2” and right-clicked to explore the options available. From the context menu, I selected “Rename” and typed in a meaningful name related to the data I was about to enter. This was crucial because clear, descriptive names would help me easily identify the content of each sheet later on.
My next step involved entering data into this new worksheet. I switched from my previous worksheet, where the data was becoming chaotic, to “Sheet2” and began inputting the relevant information. To keep track of different aspects of the project, I repeated the process by adding more worksheets. Each worksheet had its own tab, which I renamed to reflect the specific category of data it contained. This organization was vital for keeping everything orderly and accessible.
As I continued adding and naming worksheets, I also learned about the options for managing them. For instance, I discovered that I could rearrange the order of the worksheets by dragging their tabs. This feature proved invaluable as I could easily prioritize the most important data and move less critical information to a secondary position. Additionally, if I ever needed to delete a worksheet, I right-clicked on the tab, selected “Delete,” and confirmed my choice. It was important to be cautious with this function, as deleting a worksheet was irreversible.
During my exploration, I also found that Excel allows for some advanced features like grouping worksheets. This became particularly useful when I wanted to perform the same action across multiple sheets. For example, if I needed to apply a formula or format changes uniformly across several worksheets, I could group them by holding down the Ctrl key and clicking on each tab. With the worksheets grouped, any changes made would apply to all selected sheets simultaneously.
Another feature that proved helpful was the “Move or Copy” function. If I wanted to duplicate a worksheet, perhaps to use as a template or to carry over specific formatting, I right-clicked on the tab and chose “Move or Copy.” From there, I could select the option to create a copy and specify where I wanted it to be placed. This function saved me time and effort, particularly when dealing with repetitive tasks.
To keep everything streamlined, I also made use of Excel’s ability to link worksheets. By using formulas that referenced cells from different worksheets, I could consolidate data without having to manually update each sheet. For instance, if I had summary data in one sheet that needed to reflect values from other sheets, I used cell references to link them, ensuring that any update was automatically reflected across the related sheets.
Throughout this process, I had to stay mindful of the overall structure of my workbook. Ensuring that each worksheet was purposefully named and contained relevant information helped me maintain a clear overview. I periodically reviewed the tabs and content to confirm that the organization was logical and that I hadn’t accidentally misplaced data.
In conclusion, learning to create and manage multiple worksheets in Excel turned out to be a game-changer for me. What initially seemed like a daunting task became manageable through the simple steps of adding, renaming, and organizing worksheets. By taking advantage of features like grouping, copying, and linking, I was able to efficiently handle complex data and ensure that my presentation was both comprehensive and well-structured. This newfound skill not only saved me time but also significantly improved the quality of my work.
