I remember when I first encountered the issue of the Start Menu web search on Windows 11. I had just upgraded my system from Windows 10, excited about the new features and improvements. However, as soon as I began exploring the new operating system, I found something that quickly became annoying. The Start Menu’s web search functionality kept presenting me with online search results every time I typed something into the search bar. It felt like an intrusion into my privacy and a distraction from what I was trying to find on my local machine.
The web search integration in Windows 11 seemed like a good idea at first – after all, it promised to deliver relevant results from the web alongside my local files and apps. However, the constant online suggestions and advertisements were overwhelming and unnecessary for me. I wanted a cleaner, more focused search experience without being bombarded by web results that didn’t pertain to my immediate needs. So, I set out to find a solution to disable this feature.
The process of disabling the Start Menu web search on Windows 11 involved several steps, but it turned out to be more straightforward than I initially thought. The first thing I did was open the Settings app, which I accessed by clicking on the Start Menu and selecting the gear icon. From there, I navigated to the “Privacy & security” section. This was where I expected to find options related to search and online content, but I quickly realized that the web search settings were not directly visible in this section.
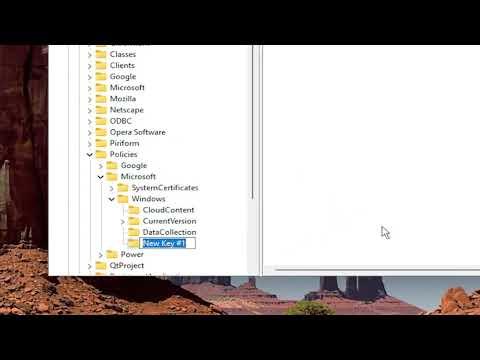
Determined to find a way to disable the web search, I remembered reading about using the Windows Registry Editor for more advanced tweaks. While I knew this tool could be powerful, I was also aware that making mistakes in the Registry Editor could potentially harm my system. So, I proceeded with caution. I opened the Registry Editor by pressing Win + R to open the Run dialog, typing regedit, and hitting Enter. Once the Registry Editor was open, I navigated to the path: HKEY_CURRENT_USER\Software\Microsoft\Windows\CurrentVersion\Search.
Here, I was looking for a specific key that would allow me to modify the web search behavior. I found an entry named “BingSearchEnabled” and noticed that its value was set to “1,” which indicated that web search was enabled. I right-clicked on this entry and selected “Modify.” In the dialog that appeared, I changed the value from “1” to “0” and clicked OK. This change effectively disabled the web search feature.
After making this change, I also realized that there was another entry named “CortanaConsent” which was linked to the Cortana personal assistant. Since Cortana’s integration was also a part of the overall search experience, I decided to check this as well. The value for “CortanaConsent” was also set to “1,” so I changed it to “0” to ensure that Cortana would no longer interfere with my search results. I was careful to avoid any other entries that might affect the system’s stability.
To finalize the process, I restarted my computer to ensure that the changes took effect. Upon rebooting, I went back to the Start Menu and performed a search. This time, I was pleased to see that the web results had been removed, and only the local files and apps appeared in the search results. It was a relief to have a search experience that was less cluttered and more focused on my needs.
Throughout this process, I learned a few important lessons. First, always back up your registry before making any changes. The Registry Editor is a powerful tool, and while the steps I took worked for me, there’s always a risk of unintended consequences. Second, be patient and thorough. It can be easy to overlook certain settings or entries, but a careful approach ensures that you achieve the desired outcome.
In conclusion, disabling the Start Menu web search on Windows 11 turned out to be a manageable task once I knew where to look and how to proceed. By modifying the registry entries associated with web search and Cortana, I was able to customize my search experience to better suit my preferences. The entire process took a bit of time and careful handling, but the end result was a more streamlined and efficient use of the Windows 11 Start Menu. If you find yourself in a similar situation, following these steps can help you regain control over your search experience and eliminate those unwanted web results.