I remember the day I first encountered the Steps Recorder in Windows 10. It was one of those frustrating moments when you’re trying to troubleshoot a problem, and instead of getting the help you need, you find yourself tangled in a web of unfamiliar features. I was working on a critical project with a tight deadline when my computer suddenly started recording every single action I took. At first, I thought it was a glitch, but as I realized what was happening, I saw that the Steps Recorder was capturing every click, every keystroke, and every little detail of my work.
I had never actively used the Steps Recorder before, but here it was, capturing my entire screen and creating a log of my activities. It wasn’t just distracting—it was incredibly invasive and made me feel like I had lost control over my own machine. With the clock ticking, I knew I needed to find a way to disable this feature and regain control of my computer.
The Steps Recorder, previously known as Problem Steps Recorder (PSR), is a utility in Windows 10 designed to help users record and document problems they encounter on their computers. It’s a useful tool for IT support and troubleshooting, as it creates a detailed report with screenshots and descriptions of each step taken. However, for someone like me who was in the middle of an urgent task, it was nothing short of a nuisance.
The process of disabling Steps Recorder wasn’t as straightforward as I had hoped. I started by diving into the Windows settings, but it quickly became clear that there was no direct option to turn off the Steps Recorder in the usual settings menu. This left me feeling a bit lost and frustrated, so I decided to dig deeper into the system’s configuration options.
First, I accessed the Control Panel. I remembered from past experiences that sometimes, features like these are hidden away in less obvious places. In the Control Panel, I navigated to “System and Security” and then to “Administrative Tools.” I hoped that this would lead me to some sort of administrative setting for Steps Recorder. To my disappointment, there wasn’t a clear option to disable the tool directly from there.
Next, I tried using the Group Policy Editor. I had heard that this tool could help manage various system settings and was confident that it might hold the key to disabling the Steps Recorder. I pressed Windows Key + R to open the Run dialog, typed “gpedit.msc,” and hit Enter to launch the Group Policy Editor. Once inside, I navigated to “User Configuration” > “Administrative Templates” > “Windows Components” > “Steps Recorder.” However, to my dismay, this section was empty, and there were no policies listed that pertained to Steps Recorder.
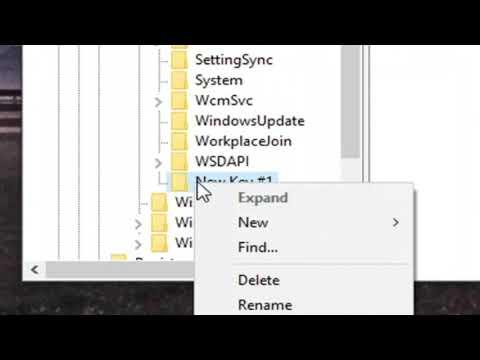
Determined to solve the problem, I turned to the Registry Editor, hoping it would offer a more advanced way to handle this situation. I pressed Windows Key + R again, typed “regedit,” and hit Enter to open the Registry Editor. I carefully navigated through the registry paths, searching for anything related to Steps Recorder. I knew that editing the registry could be risky, so I proceeded with caution, making sure to back up the registry before making any changes.
In the Registry Editor, I found the path “HKEY_LOCAL_MACHINE\SOFTWARE\Policies\Microsoft\Windows\System.” I searched for any entries related to the Steps Recorder but found none. It became evident that the Steps Recorder wasn’t controlled by a simple registry setting. After more exploration and several hours of searching, I discovered that the feature was more integrated into the system than I initially thought.
Finally, I came across a solution that involved using the Task Scheduler. I accessed Task Scheduler by pressing Windows Key + S and typing “Task Scheduler” into the search bar. In Task Scheduler, I looked through the list of scheduled tasks and found one related to Steps Recorder. I right-clicked on the task and selected “Disable.” This action stopped the Steps Recorder from launching automatically.
To ensure that the Steps Recorder wouldn’t be reactivated or run without my knowledge, I also checked the Windows Services. I opened the Services application by pressing Windows Key + R, typing “services.msc,” and hitting Enter. I found the “Problem Steps Recorder” service and set it to “Disabled” to prevent it from starting up again.
With these steps, I was finally able to regain control over my computer and focus on my project without the constant interruptions of the Steps Recorder. The experience was a valuable lesson in navigating Windows 10’s more obscure settings and tools. It also highlighted the importance of understanding the full range of features available in the operating system, even if they’re not always immediately visible or intuitive.
The entire process, from frustration to resolution, took a bit of time and patience, but I learned that even the most unexpected features in Windows 10 could be managed with the right approach. By using the Task Scheduler and Services applications, I was able to effectively disable the Steps Recorder and restore my productivity.