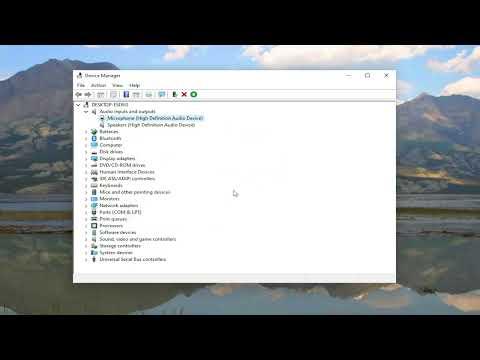
To disable or mute the microphone in Windows 11 or Windows 10, you can follow a few straightforward steps. I’ll guide you through the process for each version of Windows. This is a useful skill if you want to prevent any unwanted audio input during a call, recording, or just for privacy reasons.For Windows 11:Open Settings: Click on the Start menu and select the “Settings” app. Alternatively, you can press Win + I to open the Settings directly.Navigate to Privacy & Security: In the Settings menu, look for the “Privacy & security” tab on the left sidebar and click on it.Select Microphone: Under the “App permissions” section, find and select “Microphone.” This will take you to the microphone settings where you can control which apps have access to your microphone.Toggle Microphone Access: You will see a switch labeled “Microphone access.” Turn this switch off to disable microphone access for all apps. If you prefer to keep the microphone on but mute it selectively, you can also manage app permissions below by toggling the switch for individual apps.Check Device Settings: To ensure your microphone is fully disabled, you can go back to the main Settings menu and select “System” followed by “Sound.” Under the “Input” section, click on “Device properties” and then turn off the device or adjust its volume to the lowest setting.For Windows 10:Open Settings: Click on the Start menu and choose the “Settings” app, or press Win + I to bring up the Settings directly.Navigate to Privacy: In the Settings window, click on “Privacy.”Select Microphone: On the left sidebar, under “App permissions,” click on “Microphone.”Adjust Microphone Access: You’ll see a switch labeled “Allow apps to access your microphone.” Turn this switch off to disable microphone access for all apps. If you want to control microphone access for individual apps, you can adjust the switches for each app under the same section.Check Device Settings: For a complete solution, go back to the main Settings menu and click on “System,” then “Sound.” Under the “Input” section, select your microphone device and click on “Device properties.” You can then turn off the device or reduce its volume to zero.By following these steps, you will effectively disable or mute your microphone in Windows 10 and Windows 11. If you need to use the microphone again in the future, simply reverse the process by turning the access permissions back on or adjusting the volume settings accordingly. This process helps in managing your privacy and controlling audio input when necessary.
How To Disable/Turn Off Or Mute The Microphone In Windows 11/10 [Tutorial]
