I had always been a fan of Snapchat and its unique way of connecting with friends through ephemeral messages and fun filters. However, there was one issue that had been bothering me for a while: I wanted to use Snapchat on my Windows 11 PC. After some research, I realized that Snapchat didn’t have a direct app for Windows. Determined to find a solution, I decided to delve into various methods and find the ultimate way to get Snapchat working on my computer.
The first thing I tried was checking if there were any official solutions or emulators that could help. I searched online for guides and forums discussing the compatibility of Snapchat with Windows 11 and 10. To my surprise, I discovered that while Snapchat didn’t offer a native app for Windows, there were workarounds available.
I began with the simplest solution: using an Android emulator. Emulators allow you to run Android applications on your Windows PC by creating a virtual Android environment. I decided to go with BlueStacks, a popular emulator known for its reliability. The process was straightforward, but I encountered some hurdles along the way.
First, I visited the BlueStacks website and downloaded the latest version of the emulator. The installation was smooth, and it didn’t take long before I had BlueStacks up and running on my PC. Once the emulator was installed, I opened it and signed in with my Google account. This step was crucial because it allowed me to access the Google Play Store within BlueStacks.
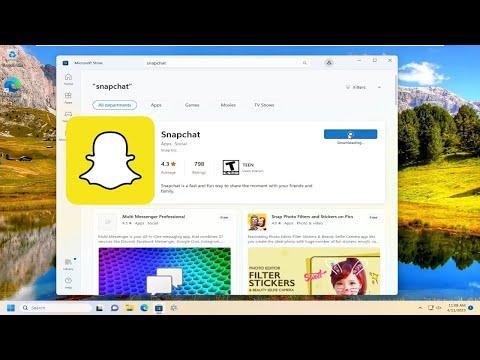
Next, I searched for Snapchat in the Google Play Store. To my relief, it appeared in the search results. I clicked on the Snapchat app and hit the “Install” button. The app began downloading, and within a few minutes, it was installed and ready to use. I opened Snapchat, logged in with my existing account, and everything seemed to work perfectly. The experience was quite smooth, and I was able to enjoy Snapchat’s features on my Windows PC just as I would on my smartphone.
However, I noticed that the performance wasn’t as optimal as I had hoped. The app sometimes lagged, and certain features didn’t work as seamlessly as they did on my phone. This led me to explore another option: using a virtual machine with an Android operating system. This method seemed more complex, but I was determined to find a solution that would provide a better user experience.
I chose to use a virtual machine software called VMware Workstation Player. The first step was to download and install VMware Workstation Player on my PC. Once installed, I needed an Android ISO file to create a virtual Android machine. I found a suitable version of Android-x86, a project that ports Android to x86 platforms, and downloaded it.
Creating the virtual machine was a bit technical. I launched VMware Workstation Player and created a new virtual machine, selecting the Android ISO file as the installation media. After configuring some basic settings, such as allocating memory and disk space, I proceeded with the installation. The process took a bit longer than the emulator installation, but it was worth it for the improved performance.
Once the virtual machine was set up, I booted it up and went through the initial Android setup. I installed the Snapchat app from the Google Play Store within the virtual Android environment. The performance was notably better compared to the emulator, and Snapchat ran more smoothly. This method provided a more native Android experience on my PC, and I was pleased with the results.
In addition to these methods, I also explored the possibility of using Snapchat through a web browser. I logged into my Snapchat account through the official Snapchat website, but the web version didn’t offer the same functionality as the app. While it allowed me to view messages and interact with some features, it wasn’t a complete replacement for the mobile app.
Ultimately, using an Android emulator like BlueStacks was the easiest and most straightforward method for accessing Snapchat on my Windows PC. It allowed me to quickly get up and running without much hassle. For those who are looking for a more stable experience, setting up a virtual machine with Android might be a better option. Both methods have their pros and cons, but they both provided a workable solution to the problem of using Snapchat on a Windows computer.
In conclusion, while Snapchat doesn’t offer a native Windows app, there are effective workarounds to get it working on a PC. Whether you choose to use an Android emulator or set up a virtual machine, you can enjoy Snapchat’s features on your computer. By experimenting with these methods, I was able to find a solution that met my needs and allowed me to stay connected with friends through Snapchat on my Windows PC.