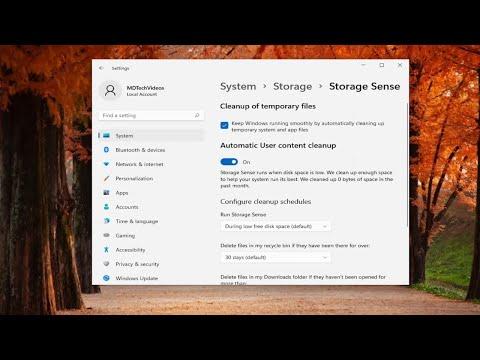
I remember the first time I realized my Recycle Bin was becoming a problem. It all started one day when I noticed that my computer was slowing down, and the storage was running out of space. As I checked various files and folders, I stumbled upon the Recycle Bin, which was brimming with deleted items. It struck me that this seemingly minor issue was causing my computer to lag. I needed a solution, and after a bit of research, I discovered a way to empty the Recycle Bin automatically on Windows.
The first step in addressing the problem was understanding why my Recycle Bin was accumulating so many files. Essentially, the Recycle Bin is a temporary storage area where deleted files are held until you decide to permanently remove them. This is a useful feature because it allows you to recover files if you accidentally delete something important. However, over time, this temporary storage can become a burden, especially if you don’t regularly empty it.
Initially, I would manually empty the Recycle Bin every few days, but I quickly realized that this was neither efficient nor practical, especially when my workload increased. I needed a way to automate this process so that my Recycle Bin would clear itself out without me having to remember to do it.
I began by exploring built-in Windows features and utilities. One of the first things I discovered was the Task Scheduler, a tool that allows you to schedule and automate various tasks on your computer. This seemed like a perfect fit for my needs. The Task Scheduler lets you create a task that runs at specified intervals, and I could use this to set up a job that would automatically empty the Recycle Bin.
Here’s how I tackled the problem:
-
Opening Task Scheduler:
To start, I opened Task Scheduler by typing “Task Scheduler” into the Windows search bar and selecting the application from the search results. The Task Scheduler interface appeared, and I was ready to create a new task. -
Creating a New Task:
In the Task Scheduler window, I clicked on “Create Basic Task” from the Actions pane on the right. This initiated a wizard that guided me through the process of setting up a new scheduled task. -
Naming and Describing the Task:
I provided a name for the task, such as “Empty Recycle Bin,” and added a description if necessary. This helped me identify the task later on. -
Setting the Trigger:
The next step was to define when I wanted the task to run. I chose the frequency that suited my needs best. Options include daily, weekly, or monthly. Given my requirement, I opted for a weekly schedule. I set the time for when the task should run, such as every Sunday at midnight, so it would clear the Recycle Bin without disrupting my work. -
Choosing the Action:
For the action, I selected “Start a program” and clicked “Next.” Here, I needed to specify the program that would perform the task of emptying the Recycle Bin. Instead of a standard program, I used a script file. -
Creating a Script:
To empty the Recycle Bin automatically, I created a simple script file. I used Notepad to write a command that would execute the action. The command I used was:cmdcmd /c "rd /s /q C:\$Recycle.Bin"This command tells Windows to remove all files from the Recycle Bin quietly, without asking for confirmation. I saved this file with a
.batextension, for example,empty_recycle_bin.bat. -
Configuring the Script in Task Scheduler:
Back in Task Scheduler, I browsed to the location where I saved the script file and selected it. This setup ensured that Task Scheduler would run the script at the specified time. -
Finalizing and Testing:
After completing the wizard, I reviewed the settings to ensure everything was configured correctly. I clicked “Finish” to create the task. To make sure it was working as expected, I manually triggered the task from the Task Scheduler and checked if the Recycle Bin was emptied. Everything worked perfectly, and the Recycle Bin was cleared without any issues.
By following these steps, I had successfully automated the process of emptying the Recycle Bin. This simple yet effective solution saved me time and helped maintain my computer’s performance. Now, I no longer need to worry about my Recycle Bin filling up and causing potential slowdowns. The Task Scheduler does all the work for me, keeping my system running smoothly.
In conclusion, automating the emptying of the Recycle Bin on Windows can be a practical solution to managing disk space and improving system performance. The Task Scheduler is a powerful tool that, when combined with a straightforward script, can handle this task efficiently. If you find yourself in a similar situation, this method is definitely worth considering.
