When I first started using Microsoft Excel, I found myself squinting at the glaringly bright white screen for hours on end. My eyes felt strained, and the constant brightness began to take a toll on my productivity. I realized that I needed a solution to make my work environment more comfortable and less stressful for my eyes. After a bit of searching and experimentation, I discovered how to enable the dark theme in Microsoft Excel, and it made a world of difference.
The first step in my journey was to open Microsoft Excel. I had recently updated to the latest version, so I knew I should be able to access the dark theme feature. I navigated to the File tab in the upper left corner of the window. From there, I clicked on Options at the bottom of the menu. This action brought me to the Excel Options dialog box, where a range of customization options awaited.
In the Excel Options dialog box, I found a list of categories on the left side. I clicked on General, which is where I could adjust various aspects of the Excel interface. My primary focus was on the Personalize your copy of Microsoft Office section. Here, I looked for the Office Theme dropdown menu. Initially, it was set to the default setting, which was Light.
I clicked on the dropdown menu to reveal a list of theme options. The list included Light, Dark Gray, and Black. The Dark Gray theme was a good starting point, but I was more interested in the Black theme for the most comfortable experience. I selected Black, and immediately, the Excel interface started transforming. The dark theme applied not only to the Excel workbook area but also to the ribbon and menus.
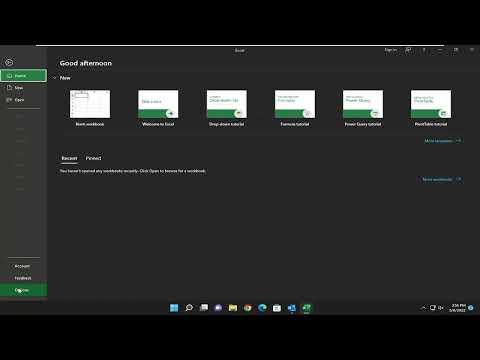
Once I made the change, I clicked OK to apply the new settings. As soon as Excel refreshed, I noticed a significant improvement. The black background of the worksheet was much easier on my eyes, especially during long working hours. The contrast between the text and background was more comfortable, reducing the strain that I had previously experienced. This adjustment made it much easier to focus on my tasks without feeling overwhelmed by bright light.
In addition to making Excel easier on my eyes, the dark theme also contributed to a more modern and sleek look for the application. I found that the overall visual experience was enhanced, making my time spent working in Excel more enjoyable. The black theme created a more immersive environment, which was particularly useful when I was working on detailed spreadsheets or reviewing data.
However, I also discovered that not every aspect of Excel’s dark theme was perfect. Some users might find that the dark theme affects the visibility of certain elements, like gridlines or cell borders, which can sometimes blend into the background. In my case, I had to adjust my color schemes and cell formatting slightly to ensure that all elements remained clear and distinct.
Despite these minor adjustments, the dark theme proved to be a highly beneficial feature. It not only alleviated eye strain but also helped me stay focused and productive. I was relieved to have found a simple yet effective solution to improve my work environment. With the dark theme enabled, I was able to continue using Excel comfortably, making my tasks more manageable and less taxing on my eyes.
Overall, enabling the dark theme in Microsoft Excel was a straightforward process that had a significant impact on my work experience. By following the steps to access the Office Theme settings and selecting the Black option, I was able to transform the appearance of Excel to better suit my needs. This change has made a noticeable difference in my daily work routine, allowing me to work more efficiently and with greater comfort.