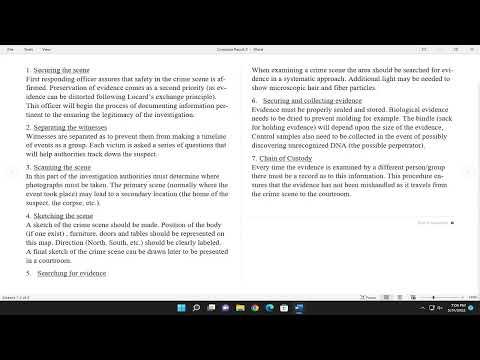
When I first encountered the Read Mode in Microsoft Word, I was curious about how to use it effectively and how to control its activation. The Read Mode is designed to provide a distraction-free reading experience, making it easier to focus on the content of the document without the usual clutter of editing tools. Here’s a step-by-step tutorial on how I managed to enable and disable Read Mode in Microsoft Word, which helped me tailor my Word experience to better suit my needs.To start, enabling Read Mode in Microsoft Word is quite straightforward. I first opened the document I wanted to read in Word. Once the document was open, I navigated to the “View” tab located on the Ribbon at the top of the screen. The Ribbon is the toolbar that contains various tabs and commands related to document management. Under the “View” tab, I found several viewing options, including “Read Mode.”Clicking on “Read Mode” instantly transformed my document into a layout optimized for reading. The interface was stripped down, with the toolbar and other editing tools hidden from view. This mode adjusts the text to a more comfortable size and ensures that the document is presented in a clean and uncluttered format. The focus is on the text itself, making it easier to concentrate on the content without being distracted by formatting options or other editing features.In Read Mode, I also had access to a few handy features that enhance the reading experience. For instance, I could adjust the text size and choose between different page layouts. There were options to switch between single and multiple columns, which helped me find the layout that best suited my reading preferences. I could also use the navigation pane on the left to jump between sections or pages quickly, which was particularly useful for long documents.However, there were times when I needed to switch back to the standard editing view to make changes to the document or access additional features. To exit Read Mode, I simply clicked on the “Read Mode” button again, which was typically located at the top-right corner of the screen. This action returned me to the default editing view, where all the usual tools and options were available. Alternatively, I could use the keyboard shortcut by pressing “Esc” to exit Read Mode and return to the previous view.Another method to disable Read Mode was through the “View” tab on the Ribbon. By selecting “Print Layout” or “Web Layout” from the available options, I could switch the document back to the standard editing modes. “Print Layout” provided a view that closely resembled how the document would appear when printed, while “Web Layout” displayed the document as it would look in a web browser. Both of these views allowed me to access the full suite of editing tools and features in Word.Throughout my experience, I found that switching between Read Mode and editing modes was quite intuitive. The seamless transition allowed me to focus on reading without distractions and then easily switch back to editing when necessary. This flexibility was particularly useful when working on lengthy documents or when I needed to review content with minimal interruptions.In summary, managing Read Mode in Microsoft Word involves a few simple steps. Enabling Read Mode is as easy as selecting it from the “View” tab on the Ribbon, which provides a distraction-free reading experience. Disabling Read Mode is just as straightforward, whether by clicking the “Read Mode” button again or choosing an alternative view from the “View” tab. The ability to switch between these modes allowed me to efficiently navigate between reading and editing tasks, making my work in Word more productive and less cumbersome.
How to Enable/Disable Read Mode in Microsoft Word [Tutorial]
