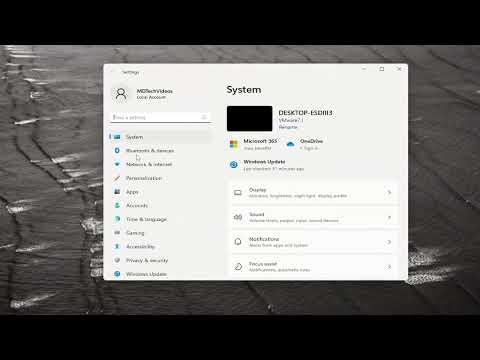
I understand that you’re looking for detailed guidance on how to enable or disable autocorrect and highlight misspelled words settings in Windows 11. To start, I’ll provide a comprehensive explanation on how you can achieve this.To delve into managing autocorrect and spell-check settings in Windows 11, I first accessed the settings menu. To do this, I clicked on the Start menu, then selected “Settings.” Alternatively, I could use the shortcut by pressing Win + I on my keyboard, which opens the Settings app directly.Once I was in the Settings app, I navigated to the “Time & language” section. This is where the options for language and typing settings are housed. Clicking on “Typing” within this section led me to the typing settings, which include autocorrect and spell-check features.In the “Typing” settings, I found several options related to how Windows 11 handles text input. Here, I could see toggle switches for various settings. To enable or disable autocorrect, I adjusted the toggle for “Autocorrect misspelled words.” Turning this toggle on enables the feature, which automatically corrects spelling errors as I type. Conversely, turning it off disables the feature, which means I’ll need to manually correct any spelling mistakes.Adjacent to this, there’s a setting labeled “Highlight misspelled words.” When this is enabled, Windows 11 will underline words it identifies as misspelled with a red squiggly line, making it easy to spot and correct errors. Disabling this option removes the visual cues for misspelled words, which can be useful if you prefer a cleaner, distraction-free typing experience.To make sure these settings were configured correctly, I tested them in a text editor like Notepad. With autocorrect enabled, I deliberately typed a common misspelling to see if it would be automatically corrected. The feature worked as expected, instantly fixing the error. When I turned off the autocorrect feature and re-tested, the misspelled word remained unchanged, confirming that the setting was properly disabled.Similarly, with “Highlight misspelled words” enabled, I noticed that my misspelled words were underlined. Disabling this setting showed that the underline was removed, aligning with my choice to turn off the highlighting feature. This process allowed me to tailor my typing experience according to my preferences.In addition to these settings, Windows 11 also provides options for adjusting spell-checking for multiple languages. If I used multiple languages for typing, I could add and configure language packs through the same “Time & language” settings menu. This was particularly useful for those who frequently switch between languages and need spell-checking support for each one.For more advanced configurations, such as managing text prediction or other language options, I explored the “Advanced keyboard settings” within the same menu. This area offers additional customization options for keyboard input and language preferences, which can further refine the typing experience.To summarize, by navigating through the “Time & language” section and accessing the “Typing” settings in Windows 11, I was able to easily enable or disable autocorrect and highlight misspelled words. This customization ensured that my typing experience was aligned with my personal preferences, whether I preferred automatic corrections and visual cues or a more manual approach. The clear, user-friendly interface made it straightforward to adjust these settings, ultimately providing a more tailored and efficient typing environment.
How to Enable or Disable Autocorrect and Highlight Misspelled Words Settings in Windows 11
