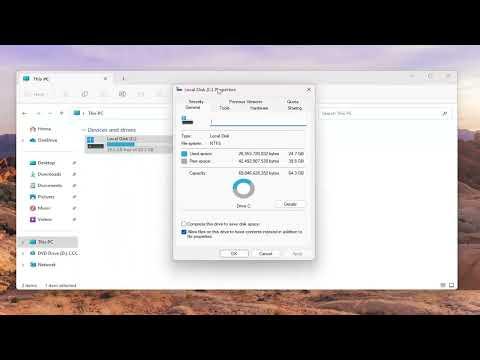
I decided to dive into how to enable or disable disk write caching in Windows 11 because I wanted to optimize my system’s performance and ensure data integrity. Disk write caching is a feature that temporarily stores write operations in a cache before committing them to the hard drive or SSD. It can significantly enhance performance by reducing the number of write operations directly to the storage device, which speeds up tasks like file transfers and system operations. However, this comes with the trade-off of potential data loss in case of a sudden power failure or system crash. Therefore, understanding how to enable or disable it based on my needs was crucial.
First, I started by opening the Device Manager. To do this, I right-clicked on the Start button and selected “Device Manager” from the menu. In the Device Manager, I looked for the “Disk drives” section, where I found a list of all storage devices connected to my system. For each drive, I right-clicked and selected “Properties.” In the Properties window, I navigated to the “Policies” tab. Here, I saw two options under “Write-caching policy”: “Quick removal” and “Better performance.”
The “Quick removal” setting allows you to remove the drive without using the “Safely Remove Hardware” option, but it disables write caching. This means data is written directly to the disk without being cached, which can be slower but is safer if you frequently disconnect your drive. On the other hand, “Better performance” enables write caching, improving performance at the cost of potential data loss if the drive is removed or the system crashes unexpectedly.
I decided to explore the implications of both settings. For my internal drive, where I rarely disconnect the drive and value performance, enabling write caching was beneficial. However, for an external USB drive that I frequently unplug, I opted for “Quick removal” to avoid potential data loss.
After adjusting the settings, I noticed a difference in system performance, particularly with tasks involving large file transfers and application startups. The performance boost was evident, but I also understood the importance of safely removing external drives and ensuring my system has a reliable power supply to mitigate risks associated with write caching.
To further explore write caching, I researched its impact on SSDs versus HDDs. SSDs benefit more from write caching due to their faster access speeds and lack of moving parts, which minimizes the risk of data corruption compared to HDDs. Thus, for SSDs, enabling write caching can result in noticeable performance improvements with minimal risks, provided I maintain a stable power supply.
I also learned about the advanced settings in Windows 11 for optimizing disk performance. By delving into the “Storage” settings in the Control Panel and navigating to “Advanced storage settings,” I could fine-tune various options, including those related to disk caching and overall system performance. The ability to adjust these settings allowed me to tailor the performance of my storage devices to match my specific needs, whether it was for gaming, professional work, or general usage.
Ultimately, deciding whether to enable or disable write caching comes down to balancing performance and data safety based on how I use my drives. For critical data or environments where stability is paramount, disabling write caching might be the better option. However, for scenarios where performance is the top priority and I can mitigate risks through regular backups and a stable power supply, enabling write caching provides significant advantages.
The choice I made was influenced by my specific use case and the type of storage devices I employed. By carefully considering the benefits and risks associated with disk write caching, I was able to optimize my Windows 11 system for both performance and reliability.
