When I first encountered the issue of hardware acceleration in Chrome, it was during a period of intense work on graphic-heavy tasks. I was editing high-resolution images and streaming multiple video feeds simultaneously, and I noticed my computer was struggling. The sluggish performance and occasional crashes made my workday frustratingly unproductive. The problem became more pronounced with frequent browser freezes and stuttering video playback.
Curious about the root cause, I started researching potential culprits and came across hardware acceleration. This feature, designed to use your computer’s GPU (Graphics Processing Unit) to handle certain tasks, can either boost performance or cause issues depending on how well it integrates with your hardware. With this newfound knowledge, I decided to delve deeper into the Chrome settings to determine if hardware acceleration was the source of my troubles.
To address the issue, I first needed to understand how to enable or disable hardware acceleration in Chrome. The process began with opening my browser and navigating to the settings menu. Here’s the step-by-step guide I followed to manage this feature effectively.
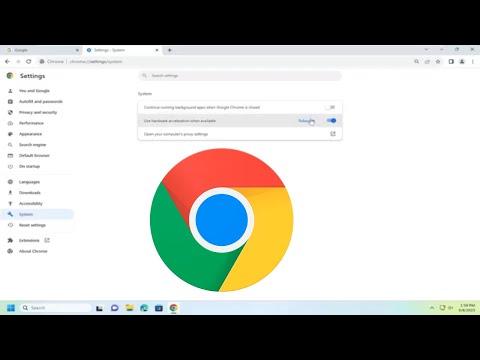
Firstly, I clicked on the three vertical dots located at the top right corner of Chrome to open the menu. From there, I selected ‘Settings’. In the settings menu, I scrolled down and clicked on ‘Advanced’ to reveal additional options. Under the ‘System’ section, I found the ‘Use hardware acceleration when available’ toggle.
To determine if enabling or disabling this feature would solve my problem, I decided to test both settings. I started by disabling hardware acceleration. I toggled the switch to the off position and then restarted Chrome to apply the changes. Immediately, I noticed a difference. The browser seemed to perform better during my graphic-intensive tasks, with fewer freezes and improved stability.
Despite the improvements, I was curious if enabling hardware acceleration might still be beneficial for certain tasks. I re-enabled the feature by toggling the switch back to the on position and restarted Chrome once more. The performance was noticeably smoother in some aspects, like video playback and gaming. However, it also led to occasional stutters and crashes during heavy tasks, similar to my initial experience.
With this experimentation, I realized that the impact of hardware acceleration can vary based on the tasks and the hardware configuration. For routine browsing and lighter tasks, having hardware acceleration enabled can provide a smoother experience. On the other hand, for tasks that stress the system, disabling it might reduce instability.
The ultimate lesson I learned from this process is that managing hardware acceleration settings is not a one-size-fits-all solution. It requires balancing based on the nature of the tasks and the capabilities of your hardware. By toggling this setting and observing its effects, I found a setup that worked best for my specific needs.
In conclusion, if you’re facing performance issues with Chrome, adjusting the hardware acceleration setting is a viable troubleshooting step. Whether you choose to enable or disable it will depend on your specific use case and system configuration. By experimenting with these settings and monitoring the results, you can tailor Chrome’s performance to better suit your needs.
