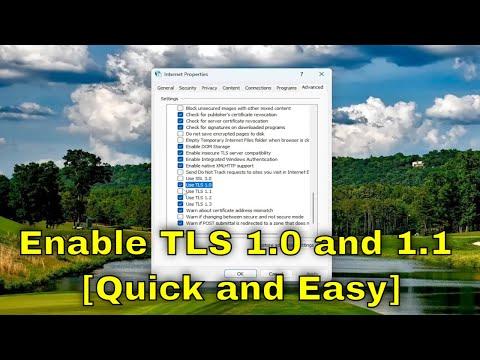
Enabling TLS 1.0 and 1.1 in Windows 11 is a task I recently undertook, and it’s a bit of a journey, given how modern operating systems focus on the more secure TLS 1.2 and TLS 1.3 protocols. While these older versions of TLS (Transport Layer Security) are generally considered outdated and less secure, there are specific scenarios where legacy systems or applications might still require them. Here’s a detailed account of how I managed to enable these older versions of TLS on my Windows 11 system.
First, I started by understanding the importance and implications of TLS versions. TLS 1.0 and 1.1 are protocols used to secure data transmitted over the internet. They encrypt data to protect it from eavesdroppers and tampering, but over time, vulnerabilities were discovered in these older versions. For this reason, most modern systems and applications have moved to TLS 1.2 and 1.3, which offer stronger security.
However, I found that some legacy systems or certain software applications might not yet support the newer protocols. In my case, I needed to access an old application that required TLS 1.0. I realized that enabling these protocols in Windows 11 was a necessity, even though it’s recommended to use more secure versions whenever possible.
The process began by opening the Windows Registry Editor. The Registry Editor is a tool that allows you to view and modify the system registry, which is a database that stores low-level settings for the operating system and installed applications. It’s crucial to be cautious while working in the Registry Editor because incorrect changes can affect system stability.
To open the Registry Editor, I pressed the `Win + R` keys to open the Run dialog box, typed `regedit`, and pressed Enter. This action launched the Registry Editor. Before making any changes, I made sure to back up the registry. I did this by selecting “File” and then “Export” from the menu, saving the registry backup to a safe location. This step is vital because it allows me to restore the registry to its previous state if anything goes wrong.
Once I had the backup, I navigated to the following path in the Registry Editor:
`HKEY_LOCAL_MACHINE\SYSTEM\CurrentControlSet\Control\SecurityProviders\SCHANNEL\Protocols`
In this location, I found that TLS 1.0 and TLS 1.1 folders were not present by default in my Windows 11 installation. Therefore, I had to create them. To do this, I right-clicked on the “Protocols” folder, selected “New,” and then clicked “Key.” I named the new key “TLS 1.0” and repeated the process to create another key named “TLS 1.1.”
Under each of these newly created keys, I needed to add additional subkeys and values to enable the protocols. For TLS 1.0, I right-clicked on the “TLS 1.0” folder, selected “New,” then “Key,” and named the new key “Client.” I repeated this step to create another key named “Server” under “TLS 1.0.” I did the same for “TLS 1.1.”
Next, for each of these “Client” and “Server” keys, I had to add a DWORD (32-bit) Value. To do this, I right-clicked on the “Client” folder, selected “New,” then “DWORD (32-bit) Value,” and named the new value “Enabled.” I set the value data to “1” to enable TLS 1.0. I repeated this for the “Server” key under “TLS 1.0” and also for the “Client” and “Server” keys under “TLS 1.1.”
The entries for the “Enabled” DWORD in both “Client” and “Server” folders should be set to “1” to activate TLS 1.0 and TLS 1.1. In some cases, you may also need to create a “DisabledByDefault” DWORD with a value of “0” if it does not already exist, to ensure the protocols are not disabled by default.
After completing these changes, I closed the Registry Editor. To apply the changes, I needed to restart my computer. Rebooting ensured that the new settings took effect, allowing Windows 11 to support TLS 1.0 and 1.1.
After the restart, I tested the application that required TLS 1.0 to ensure that the changes had been successful. Everything worked as expected, and the application was able to establish a secure connection using the older TLS protocols.
In conclusion, enabling TLS 1.0 and 1.1 in Windows 11 involves modifying the system registry to add and configure the appropriate settings. It’s a straightforward process if you follow the steps carefully, but it’s crucial to be cautious and back up the registry beforehand. While using older TLS versions might be necessary for certain legacy applications, it’s important to consider the security implications and update systems and software to support more secure versions of TLS when possible.
