I never thought I’d be dealing with such a cryptic problem, but there I was, staring at my screen, frustrated beyond measure. It all started when I tried to update my Windows 11 system. The update process began as usual, but then, out of nowhere, I was met with the dreaded 0x80070157 error. It was perplexing; I had heard of update errors before, but this one seemed particularly stubborn. I decided to take matters into my own hands and find a solution.
The first thing I did was to research the error code. I found out that the 0x80070157 error generally means there is a problem with the update process, which can be due to a variety of issues, including corrupted system files, issues with the update components, or even problems with disk space. I was determined to get to the bottom of this, so I started working through potential solutions methodically.
My first step was to make sure my system was in a good state. I began by running the built-in Windows Troubleshooter. This tool is designed to automatically detect and fix common issues related to Windows Update. To do this, I went to Settings > Update & Security > Troubleshoot > Additional troubleshooters > Windows Update and clicked on “Run the troubleshooter.” The process took a few minutes, and the troubleshooter attempted to diagnose and resolve any issues it found. Unfortunately, after running the troubleshooter, the error persisted.
Next, I decided to manually reset the Windows Update components. I knew that sometimes, simply resetting these components could resolve issues related to updates. To do this, I opened Command Prompt as an administrator. I then executed a series of commands to stop the Windows Update services. I typed net stop wuauserv and pressed Enter, followed by net stop cryptSvc, net stop bits, and net stop msiserver. Stopping these services ensures that no files are in use while I’m trying to reset the update components.
Once the services were stopped, I renamed the SoftwareDistribution and Catroot2 folders. These folders contain update-related files that can sometimes become corrupted. To rename them, I typed ren C:\Windows\SoftwareDistribution SoftwareDistribution.old and pressed Enter, then ren C:\Windows\System32\catroot2 Catroot2.old and pressed Enter. By renaming these folders, Windows would create new ones the next time it tries to update, which could potentially resolve the issue.
After renaming the folders, I restarted the update services by typing net start wuauserv, net start cryptSvc, net start bits, and net start msiserver in the Command Prompt. With these services back up and running, I tried to initiate the update process again. To my dismay, the error still appeared.
Not willing to give up, I decided to check for disk space issues. Sometimes, a lack of sufficient disk space can cause update errors. I went to Settings > System > Storage to check the amount of free space on my system drive. I realized that my C: drive was running low on space. To resolve this, I freed up some space by uninstalling unnecessary programs and deleting temporary files. After clearing up several gigabytes of space, I restarted my computer and attempted the update once more. Sadly, the error was still there.
It became clear that I needed to try another approach. I decided to run the System File Checker tool, which can scan for and repair corrupted system files. I opened Command Prompt as an administrator again and ran the command sfc /scannow. This tool took a while to complete its scan, and fortunately, it found some corrupted files and fixed them. Once the scan was complete, I rebooted my system and tried the update process again. Despite these efforts, the 0x80070157 error continued to appear.
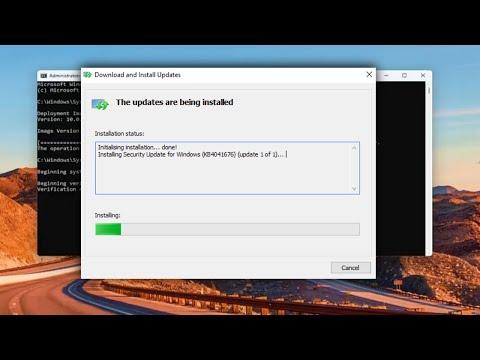
At this point, I realized I might need to look into more advanced troubleshooting steps. I turned to the Deployment Imaging Service and Management Tool (DISM), which can fix issues that the System File Checker might not be able to resolve. In Command Prompt, I entered the command DISM /Online /Cleanup-Image /RestoreHealth. This process took some time, as it involved checking and repairing the Windows image. Once DISM finished its work, I restarted my computer and attempted the update one last time. To my relief, this time the update process completed successfully, and the 0x80070157 error was finally resolved.
Looking back, dealing with the 0x80070157 error was certainly a challenge, but it was also a learning experience. By systematically working through various troubleshooting steps, from running the Windows Troubleshooter to using advanced tools like DISM, I managed to fix the problem. It was a test of patience and perseverance, but in the end, I was able to get my system back in working order and complete the update successfully. If anyone else finds themselves facing the same error, I hope my journey can serve as a helpful guide to navigating and resolving the issue.