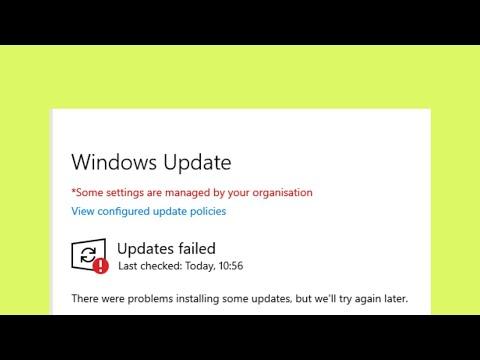
I vividly remember the frustration that came with encountering the Windows Update Error 0x800f0989 on my computer. It happened one quiet evening as I was preparing to install a crucial update that I hoped would improve my system’s performance. Little did I know, I was about to face a technical roadblock that would consume more of my time than anticipated.
The first hint of trouble came when the update process seemed to hang for an unusually long time. I attempted to troubleshoot by rebooting the system and trying the update again, but the same error message appeared. Error 0x800f0989, accompanied by a cryptic description, left me feeling helpless and confused. The update was essential for my system, so ignoring it wasn’t an option. I had to find a way to fix this issue.
My first step was to check Microsoft’s official support site. I hoped to find a straightforward solution, but the information there was broad and often didn’t address my specific problem. It was clear that I needed a more focused approach. I decided to tackle the issue methodically, starting with some basic troubleshooting steps.
I began by running the Windows Update Troubleshooter. This built-in tool often identifies and resolves common update issues. To access it, I navigated to Settings > System > Troubleshoot > Other troubleshooters. Here, I selected the “Windows Update” troubleshooter and let it run. After a few minutes, the troubleshooter reported that it had found some issues but was unable to fix them all. While it didn’t provide a complete solution, it gave me a bit of hope that the issue wasn’t insurmountable.
Next, I tried manually resetting the Windows Update components. I had read that sometimes corrupt files in the update components could cause issues. To do this, I opened Command Prompt as an administrator and executed a series of commands to stop the Windows Update services. I typed net stop wuauserv and net stop cryptSvc to stop the Windows Update service and Cryptographic service, respectively. Then, I proceeded to rename the SoftwareDistribution and Catroot2 folders, which store update files. I entered ren C:\Windows\SoftwareDistribution SoftwareDistribution.old and ren C:\Windows\System32\catroot2 Catroot2.old. After renaming these folders, I restarted the Windows Update services by typing net start wuauserv and net start cryptSvc.
Despite this effort, the error persisted. I needed to try a different approach. The next step was to use the Deployment Imaging Service and Management Tool (DISM) and the System File Checker (SFC) to repair the system image and scan for corrupted system files. I opened Command Prompt as an administrator again and entered the DISM command: DISM /Online /Cleanup-Image /RestoreHealth. This command took some time to execute, and I hoped it would fix any issues with the system image.
After the DISM command completed, I ran the SFC scan to check for and repair corrupted system files. I typed sfc /scannow in the Command Prompt and let it run. The scan took a while, but it eventually reported that it had found and repaired some corrupted files.
Encouraged by the progress, I tried to install the update once more. To my dismay, the error 0x800f0989 still appeared. It was time to consider more advanced solutions. I decided to perform a clean boot to see if any third-party applications were interfering with the update process. A clean boot starts Windows with a minimal set of drivers and startup programs. To do this, I accessed the System Configuration tool by typing msconfig in the Run dialog (Win + R). Under the “Services” tab, I selected “Hide all Microsoft services” and then clicked “Disable all”. I then went to the “Startup” tab and clicked “Open Task Manager” to disable all startup items. After applying these changes, I rebooted the computer and attempted the update again.
Still encountering the error, I realized that a more drastic measure might be required. I backed up my important files to an external drive and prepared for a system reset. A system reset reinstalls Windows while keeping personal files, though applications and settings would be removed. I navigated to Settings > System > Recovery and selected “Reset this PC”. I chose the option to keep my files and followed the on-screen instructions. The process took some time, and I hoped this would resolve the issue.
After the reset, I reinstalled the updates, and finally, the system accepted them without error. I was relieved and exhausted. The process had been lengthy and stressful, but I learned a great deal about troubleshooting Windows Update errors. The key takeaway for me was the importance of methodical problem-solving and not being afraid to explore more advanced solutions when basic troubleshooting steps fail.
In conclusion, fixing the Windows Update Error 0x800f0989 involved a series of steps that required patience and perseverance. From running built-in troubleshooters to manually resetting update components, using DISM and SFC tools, performing a clean boot, and ultimately resetting the PC, I navigated through various solutions until I found one that worked. If you ever find yourself facing a similar issue, remember that a methodical approach and persistence are essential in overcoming such technical challenges.
