I remember the day I encountered the Windows Update error 0x80248014 like it was yesterday. It was an ordinary morning when I decided to check for updates on my Windows 10 system. I had been putting off updating my computer for a while, and I finally resolved to take care of it. Little did I know, this simple task would turn into a frustrating ordeal.
As I navigated to the Settings menu and clicked on “Update & Security,” my screen showed the usual “Check for updates” button. Eager to get the latest features and security patches, I clicked it and waited for the process to begin. However, instead of the usual progress bar, I was greeted with an error message: “Windows Update Error 0x80248014.” My heart sank. This wasn’t the first time I had encountered issues with Windows Update, but this error seemed particularly baffling.
The error code 0x80248014 typically indicates that there’s a problem with the update components on your system. It could mean that the update service is corrupted or that there’s a problem with the update database. Initially, I wasn’t sure where to start with troubleshooting. I decided to take a systematic approach to resolve the issue.
The first step I took was to run the built-in Windows Update Troubleshooter. I went back to the “Update & Security” section in the Settings menu, and under the Troubleshoot tab, I selected “Additional troubleshooters.” There, I found “Windows Update” and clicked on it. The troubleshooter began diagnosing the problem and, after a few minutes, reported that it had found some issues but couldn’t fix them automatically. This left me no choice but to dive deeper into the troubleshooting process.
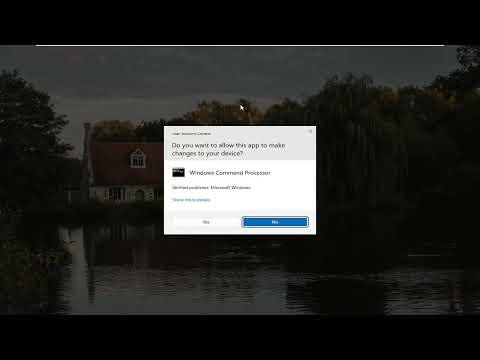
Next, I decided to check if there were any issues with the Windows Update components themselves. I opened Command Prompt as an administrator by right-clicking on the Start menu and selecting “Windows Terminal (Admin)” from the list. I ran a series of commands to reset the Windows Update components manually. The commands I used were:
net stop wuauservnet stop cryptSvcnet stop bitsnet stop msiserver
These commands stopped the relevant services associated with Windows Update. After stopping these services, I renamed the SoftwareDistribution and Catroot2 folders. These folders are used by Windows Update to store temporary files and sometimes become corrupted, causing update errors. To rename these folders, I ran:
ren C:\Windows\SoftwareDistribution SoftwareDistribution.oldren C:\Windows\System32\catroot2 Catroot2.old
After renaming the folders, I restarted the services I had stopped earlier using these commands:
net start wuauservnet start cryptSvcnet start bitsnet start msiserver
With the services restarted and the old temporary files renamed, I tried running Windows Update again. Unfortunately, the error persisted. I knew I needed to explore further options.
I decided to use the System File Checker tool (sfc) to scan for and repair corrupted system files. I opened Command Prompt as an administrator again and ran the following command:
Sfc /scannow
The scan took some time, but once it completed, it reported that it had found and fixed some issues. I was hopeful that this would resolve the error, so I tried updating Windows once more. Despite the repair attempts, the error 0x80248014 was still showing up.
At this point, I decided to check if there were any issues with the Windows Update components using the Deployment Imaging Service and Management Tool (DISM). I opened Command Prompt as an administrator once more and ran the following commands:
DISM /Online /Cleanup-Image /RestoreHealth
This command scans the system image for corruption and attempts to fix it. The process took a while, but once it was complete, I restarted my computer. I hoped that the DISM tool had resolved the underlying issue.
I went back to Windows Update and tried to check for updates again. Much to my relief, this time, it worked. The updates began downloading and installing as expected. I felt a wave of relief wash over me as the error was finally resolved.
In summary, fixing the Windows Update error 0x80248014 involved several steps. I first used the Windows Update Troubleshooter, then manually reset the Windows Update components by stopping services and renaming folders. After that, I ran the System File Checker to repair any corrupted system files and used the DISM tool to fix any issues with the system image. Each of these steps played a crucial role in ultimately resolving the problem.
While encountering this error was frustrating, the process of troubleshooting and resolving it was a valuable learning experience. It reinforced the importance of patience and a systematic approach when dealing with technical issues. If anyone else encounters the same problem, I hope sharing my experience provides some guidance and helps resolve the issue more smoothly.