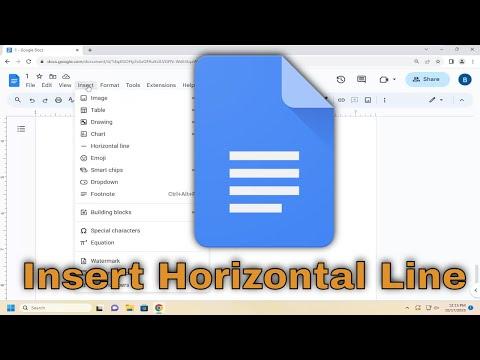
To insert a horizontal line in Google Docs, you can follow these steps for a smooth and effective result. First, open the document where you want to insert the line. Click on the spot in the document where you want the line to appear.Next, go to the menu bar at the top of the page and click on “Insert.” From the dropdown menu, select “Horizontal line.” This action will automatically insert a horizontal line at the cursor’s position. The line will extend the full width of the page and help visually separate sections of your document.If you want to customize the line’s appearance or placement, you can adjust it by selecting the line and using the formatting options available in Google Docs. For instance, if you want a thicker or differently styled line, you might consider using a drawing tool or inserting a line from Google Drawings.Additionally, you can adjust the line’s position by dragging it to your preferred location. This method is useful when you need precise control over where the line appears relative to other elements in your document.For more advanced customization, you might explore other features, such as inserting a line shape from Google Drawings. This method allows for more flexibility in terms of line thickness, style, and color. To do this, click on “Insert,” then “Drawing,” and select “New.” In the drawing window, choose the line tool and draw your line. You can then adjust its properties before saving and inserting it into your document.By using these techniques, you can effectively manage the appearance and placement of horizontal lines in your Google Docs, ensuring your document looks exactly how you want it to.
How to Insert a Horizontal Line in Google Docs [Guide]
