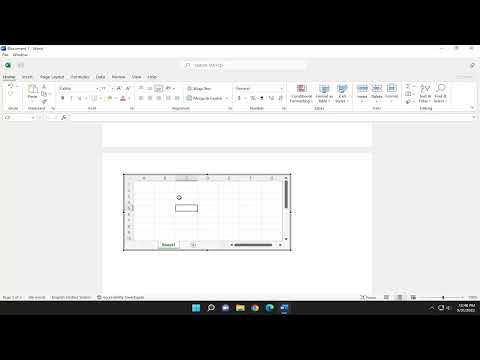
I remember the first time I needed to insert a table into a Microsoft Word document. It was during a busy week at work, and I was preparing a detailed report for a client. I had all my data neatly organized in an Excel spreadsheet, but my supervisor wanted the data to be presented in a professional document with a table embedded directly into Word. I knew the basics of Word, but I had never dealt with tables before, so I felt a bit overwhelmed.
Initially, I tried to copy and paste the data from Excel directly into Word. However, the result was less than satisfactory. The formatting was all over the place, and I quickly realized that this method wasn’t going to work. I needed to find a way to insert a table in Word that would allow me to present the information clearly and neatly. After some trial and error, I discovered a straightforward method to achieve exactly what I needed.
The first thing I did was open Microsoft Word and create a new document. I knew that to insert a table, I had to use the built-in features of Word rather than relying on copying and pasting. I clicked on the “Insert” tab in the top menu. This tab is where Word houses a variety of options for adding different elements to your document.
In the “Insert” tab, I found the “Table” option. Clicking on this opened a small dropdown menu. I could see several ways to insert a table, including drawing one manually, selecting a predefined size, or converting text into a table. For my purposes, the most straightforward approach was to select the number of rows and columns I needed from the grid that appeared.
I hovered over the grid and selected the desired number of rows and columns by dragging my cursor across the squares. This action created a table with the exact dimensions I needed. I then clicked to insert the table into my document. The table appeared right where I had clicked, and it was immediately ready for me to start entering data.
To further refine the table, I explored the “Table Tools” section that appeared in the ribbon. This section includes two tabs: “Design” and “Layout.” The “Design” tab allowed me to customize the look of my table by applying different styles and colors. I chose a style that matched the overall theme of my report, ensuring that the table looked cohesive with the rest of the document.
The “Layout” tab offered more practical tools for adjusting the table’s structure. I could add or remove rows and columns, merge cells, and adjust the size of the cells. This was especially useful because, as I started filling in the table, I realized that I needed to add a few more columns to accommodate additional data.
One of the features that proved incredibly helpful was the ability to adjust column width and row height. By dragging the borders of the table cells, I could make sure that all the data fit neatly within the cells and was easily readable. I also took advantage of the option to align text within the cells, ensuring that everything was aligned properly and looked professional.
As I continued to work on the table, I made use of the “AutoFit” feature. This feature allows you to automatically adjust the width of the columns based on the content. It was a real time-saver because it ensured that all the data was visible without having to manually resize each column.
Another useful tool was the “Sort” feature, which I discovered in the “Layout” tab. This feature allowed me to quickly organize the data in ascending or descending order, which was helpful when dealing with large datasets. It saved me a lot of time compared to sorting the data manually.
When I was satisfied with the appearance and content of the table, I turned my attention to finalizing the overall layout of my document. I made sure the table was properly positioned on the page, adjusting margins and spacing as needed. I also checked that the table did not disrupt the flow of the text in the document.
Finally, I reviewed the entire report to ensure that the table integrated seamlessly with the rest of the content. I made a few last-minute adjustments to the table’s formatting to ensure it was as professional as possible.
In the end, the table I inserted into my Word document not only met my supervisor’s requirements but also helped present the data in a clear and organized manner. The process of inserting and formatting the table in Word turned out to be much easier than I initially anticipated. By taking the time to explore the various features and options available, I was able to create a table that enhanced the overall quality of my report.
Looking back, I realize that learning how to insert and format a table in Microsoft Word was a valuable skill. It saved me time and helped me produce high-quality documents that meet professional standards. If you ever find yourself in a similar situation, don’t hesitate to dive into the features Word offers. With a bit of practice and exploration, you’ll be able to insert and format tables with confidence, making your documents look polished and well-organized.
