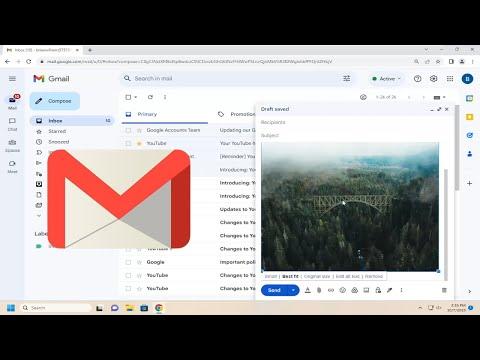
To insert an image into the body of your email in Gmail, start by composing a new email. Click on the “Compose” button to open a new message window. Once you’re in the message window, position your cursor where you’d like the image to appear in the email body. Then, locate and click the small “Insert Photo” icon, which looks like a mountain with a sun, found at the bottom of the email window. This action will open a dialog box where you can choose the source of the image. You can either upload an image from your computer, drag and drop an image into the window, or select an image from your Google Photos or Google Drive.If you’re uploading an image from your computer, click “Upload” and then “Choose photos to upload.” Navigate to the image file you want to insert, select it, and click “Open.” The image will start uploading and will appear in the email body once the upload is complete. You can adjust the size of the image by clicking on it and dragging the corners to resize.Alternatively, if you choose to use an image from Google Photos or Google Drive, click the respective tab in the dialog box. For Google Photos, navigate through your albums and select the desired image. For Google Drive, locate the image file, select it, and click “Insert.” Once the image is inserted, you can also adjust its size or alignment if needed.After inserting the image, you can continue editing your email, adding text, and making any other adjustments. When you’re satisfied with your email, enter the recipient’s email address and click “Send.” This method ensures that the image is part of the email body, allowing recipients to view it directly without having to open an attachment.
How to Insert an Image in Your Email Body (In Gmail) [Guide]
