A few weeks ago, I was working on a presentation for an upcoming meeting at work. The project required me to include some visual elements to make the report more engaging. I had just finished crafting the text, but I realized that adding videos would provide a much more comprehensive and dynamic way to convey the information. I had heard that Microsoft Word could handle multimedia, but I had never done it myself. I wasn’t even sure if it was possible to insert online videos directly into a Word document. So, I set out to figure it out.
First, I started by researching if Microsoft Word supported embedding videos from the web. My initial search yielded a lot of outdated information and instructions that didn’t quite fit the version of Word I was using. It seemed like a complex process, and I was feeling a bit overwhelmed. Nonetheless, I decided to dig deeper.
I learned that inserting online videos into Microsoft Word is indeed possible, though it’s not always straightforward. The process depends largely on the version of Word you’re using. I was using Microsoft Word 2019, so I found that there were specific steps I needed to follow. Here’s how I managed to do it:
1. Open Your Document
I started by opening the Word document where I wanted to insert the video. It’s important to have the document open where you plan to place the video. I navigated to the spot in the document where I wanted the video to appear.
2. Locate the Insert Tab
Next, I went to the “Insert” tab in the top menu bar. This tab houses various elements you can add to your document, such as tables, images, and shapes. For videos, I needed to look for the “Online Video” option. In some versions of Word, this option might be directly visible. However, in my case, it was a bit hidden under the “Media” section.
3. Select Online Video
Once I found the “Online Video” button, I clicked on it. A dialog box appeared, allowing me to insert a video from a URL. I had to choose between a few video service options, including YouTube, Vimeo, and others supported by Word. I selected the service where my video was hosted.
4. Find and Copy the Video URL
Before inserting the video, I had to locate the video I wanted to embed. I went to YouTube and found the specific video that would fit perfectly into my report. I copied the URL from the address bar of my browser.
5. Paste the URL
Back in the dialog box in Word, I pasted the URL into the provided field. Word would then process the URL and retrieve the video. It took a few seconds for Word to recognize and display a preview of the video.
6. Adjust Video Placement
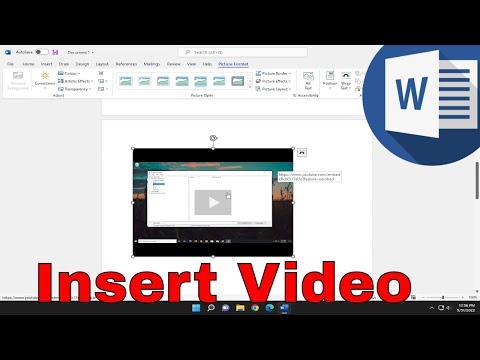
After inserting the video, I could adjust its placement and size within the document. I clicked on the video to select it and then used the handles around the video frame to resize it if needed. I also adjusted the alignment to fit the layout of my document perfectly.
7. Test the Video
To ensure that everything was working correctly, I clicked on the video to test it. In Word, videos are not playable directly within the document itself; instead, they appear as a placeholder that will open in a web browser when clicked. This was exactly what I needed to make sure that everything was set up properly.
8. Save Your Document
Finally, I saved my document. Inserting online videos into a Word document does not change the format of the document itself, but it is essential to save the document to ensure that the embedded content is preserved.
After completing these steps, I found that my document had become much more interactive and engaging. It was a little tricky at first, but once I understood the process, it became quite straightforward. I was relieved to see that my report now included the videos seamlessly, providing a richer experience for the readers.
If you’re new to this process, it may take a bit of practice to get used to how videos are embedded and how they function within the document. However, with a little patience, it is definitely manageable and worth the effort to enhance your documents with multimedia content.
