I had always been meticulous about keeping my computer organized. However, I found myself in a predicament when I realized that my primary drive, where all my essential files were stored, was running out of space. This was particularly troubling because I had accumulated a significant amount of data on my Documents, Downloads, and Desktop folders over the years. To make matters worse, my computer’s performance was beginning to suffer from the lack of available space, and I needed a solution that wouldn’t disrupt my workflow.
After some research and experimentation, I discovered that moving these folders to another drive on Windows 11 was a feasible solution. Here’s a detailed guide on how I managed to achieve this, step-by-step.
Firstly, I decided to tackle the Documents folder. I began by opening File Explorer and navigating to the Documents folder located in the C: drive. Right-clicking on it, I selected “Properties” from the context menu. In the Properties window, I switched to the “Location” tab. This tab provides an option to move the folder to a new location. I clicked on the “Move” button and selected my preferred destination on the new drive. It was crucial for me to choose a drive with ample space to avoid similar issues in the future.
After selecting the new location, I confirmed the move. Windows then prompted me with a dialog box asking whether I wanted to move all the files from the old location to the new one. I clicked “Yes” to ensure that all my documents would be transferred to the new drive. The process took a few minutes, depending on the number of files and their sizes. Once completed, I noticed that the Documents folder now pointed to the new drive, and my C: drive had more free space.
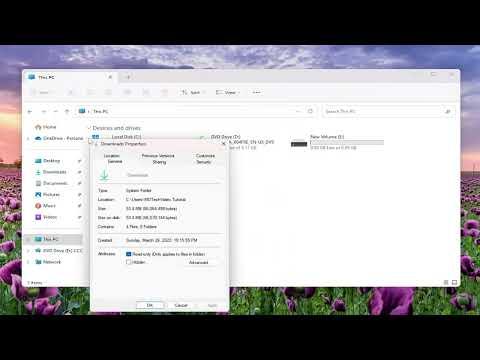
Next, I focused on the Downloads folder, which had also accumulated a substantial amount of data over time. Just like with the Documents folder, I navigated to the Downloads folder in File Explorer, right-clicked on it, and selected “Properties.” I went to the “Location” tab, clicked on “Move,” and chose a new destination on the secondary drive. After confirming the move and allowing Windows to transfer the files, I found that the Downloads folder had been successfully relocated.
Finally, I addressed the Desktop folder. Given that I often saved files directly to my desktop for quick access, this folder had also grown quite large. I repeated the same process as with the previous folders. Right-clicking on the Desktop folder, I opened “Properties” and navigated to the “Location” tab. I clicked “Move,” selected a new folder on my secondary drive, and confirmed the transfer. Windows handled the relocation of all files efficiently, and soon my desktop was pointing to the new location.
Throughout the process, I made sure to check that all files were correctly moved and accessible from their new locations. Everything seemed to be working perfectly, and my C: drive now had much more free space, which improved the overall performance of my computer. I also took a moment to back up my data to ensure that I wouldn’t lose anything important in case of unforeseen issues.
By moving these folders, I not only managed to free up valuable space on my primary drive but also organized my files in a way that would help prevent similar problems in the future. This process was straightforward, but it required careful attention to detail to ensure that no files were lost or misplaced during the transition. If you’re dealing with a similar issue, I highly recommend this method. It’s a practical solution that can make a significant difference in managing your computer’s storage more effectively.