I remember the day I first encountered a problem that many of us face when managing our files and folders on Windows 11. I had just started working on a significant project, and my desktop was a cluttered mess of files and folders. I knew I needed to organize everything to be more efficient, but the process of moving files and folders seemed like a daunting task. I’d never really paid much attention to file management before, and the new interface of Windows 11 didn’t make things any clearer.
The situation was a bit of a mess. My desktop had become a chaotic battlefield of documents, images, and folders scattered in disarray. I had various projects and personal files mixed up, and it was increasingly difficult to find what I needed when I needed it. I wanted to create a more structured and organized filing system to enhance my productivity. Initially, I was overwhelmed by the task. The thought of manually sorting through hundreds of files, moving them into the right folders, and ensuring everything was in its proper place seemed tedious. But I knew it was necessary.
So, I decided to tackle the problem head-on. I started by familiarizing myself with the Windows 11 interface and its file management capabilities. To my surprise, I found that moving files and folders was actually quite straightforward once I understood the basics.
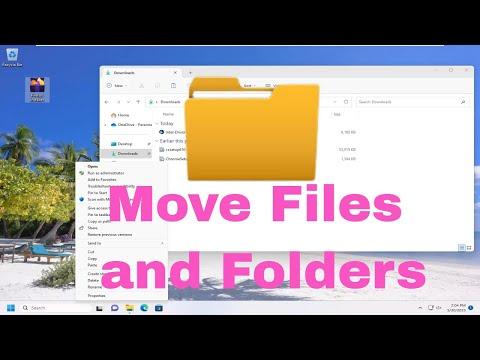
The first step I took was to open File Explorer, which is the primary tool for managing files and folders in Windows 11. I accessed File Explorer by clicking the folder icon on the taskbar or by pressing Win + E on my keyboard. This opened up a window where I could see all my files and folders laid out.
Next, I navigated to the locations of the files and folders I wanted to move. I had a folder on my desktop with several subfolders and documents scattered all over. I selected the files and folders I wanted to move by clicking on them. To select multiple items, I held down the Ctrl key while clicking each one. If I wanted to select a range of files, I clicked on the first file, held down the Shift key, and then clicked on the last file in the range.
After selecting the files and folders, I right-clicked on one of the highlighted items to open the context menu. From the menu, I chose the “Cut” option. Cutting removes the files from their current location and places them on the clipboard, ready to be pasted elsewhere. Alternatively, I could have used the Ctrl + X keyboard shortcut to achieve the same result.
Then, I navigated to the destination where I wanted to move the files. This could have been another folder on my desktop, within my Documents library, or any other directory on my computer. Once I was in the desired location, I right-clicked in the window and selected “Paste” from the context menu. I could also use the Ctrl + V shortcut to paste the files and folders. The files then began to transfer to the new location, and Windows 11 handled the rest.
During this process, I learned about a useful feature called drag-and-drop. Instead of using cut and paste, I could click and hold the files and folders, drag them to the new location, and then release the mouse button to drop them there. This method was especially handy for moving files between two open File Explorer windows side by side.
Another aspect of moving files that I found helpful was organizing them into folders. As I moved files around, I created new folders to group related items together. To create a new folder, I simply right-clicked in the destination directory, selected “New,” and then “Folder.” I gave the folder a name that reflected its contents and dragged the appropriate files into it. This process helped me keep my files organized and easy to find.
I also discovered that Windows 11 provides a feature to manage large-scale file transfers. If I was moving a large number of files or very large files, a progress window appeared, showing the status of the transfer. If there were any issues, such as conflicts with files already in the destination folder, Windows 11 prompted me to choose how to handle them. I could choose to replace existing files, skip the conflicting files, or keep both versions.
In some cases, I had files that I didn’t want to move but needed to copy to a new location. For copying, I used the same methods as moving, but instead of “Cut,” I chose “Copy” from the context menu, or used the Ctrl + C shortcut. After navigating to the destination folder, I pasted the files using Ctrl + V. This created duplicates of the files in the new location while leaving the originals untouched.
As I continued to work with Windows 11, I became more comfortable with moving files and folders. I learned that with a bit of practice, it was easy to manage my files effectively. The key was to use the tools and features provided by File Explorer to streamline the process.
In the end, what seemed like a daunting task turned out to be manageable with a bit of patience and practice. Organizing my files and folders not only made my workspace cleaner but also improved my productivity. Windows 11’s intuitive interface and powerful file management features turned what I initially thought would be a complicated ordeal into a straightforward and rewarding experience.
