Removing a network drive in Windows 11 or 10 can be a straightforward process once you understand the steps involved. I recently had to tackle this task myself, and I found it useful to break it down into a clear, manageable sequence.First, I started by accessing the File Explorer on my Windows PC. This is the hub where you manage files and folders, and it also provides access to network drives. In File Explorer, I navigated to the “This PC” section, where all my drives are listed. Here, I could see the network drives mapped to my computer, usually under the “Network locations” category.To remove a network drive, I first right-clicked on the drive I wanted to disconnect. A context menu appeared with several options. I selected the “Disconnect” option from this menu. This action prompted a confirmation dialog, which I confirmed by clicking “Yes.” This is a crucial step, as it ensures that the drive is properly removed and no longer appears in the File Explorer.If you prefer using a more manual approach or need to remove a drive that doesn’t appear in File Explorer, I delved into the Command Prompt method. I opened Command Prompt with administrative privileges by right-clicking on the Start button and selecting “Windows Terminal (Admin)” or “Command Prompt (Admin)” depending on the version of Windows I was using. In the Command Prompt window, I used the net use command to list all network connections by typing net use and pressing Enter. This command displayed all the network drives currently connected to my system.To remove a specific network drive, I used the command net use [drive letter] /delete, replacing [drive letter] with the actual letter of the network drive I wanted to remove. For example, if the network drive was mapped as Z:, I would type net use Z: /delete and hit Enter. This command executed the removal of the specified network drive.In some cases, if a drive was mapped automatically or was part of a persistent connection, it might still appear after a restart. To ensure it was completely removed, I checked the “Credential Manager” in the Control Panel. I accessed Credential Manager by searching for it in the Start menu. In Credential Manager, I navigated to “Windows Credentials” and looked for any stored credentials related to the network drive I had removed. If I found any, I deleted them to prevent any residual connections from automatically remapping the drive.Another step I considered was reviewing the startup scripts or group policies if the drive kept reappearing. Sometimes network drives are mapped automatically through startup scripts or policies set by an IT administrator. If this was the case, I would need to check with my network administrator or review any scripts that might be causing the drive to remap. This step involves delving into more advanced settings and configurations.Throughout this process, I made sure to restart my computer to confirm that the network drive was successfully removed and that no remnants were left. This final restart ensured that all changes took effect and that my system was updated with the latest configuration.In summary, removing a network drive in Windows 11 or 10 involves accessing File Explorer and disconnecting the drive through the context menu, or using Command Prompt to issue the net use command for a more direct approach. If necessary, checking Credential Manager for stored credentials and reviewing startup scripts or group policies can help resolve any persistent issues. Following these steps provided me with the ultimate solution to effectively manage and remove network drives from my Windows system.
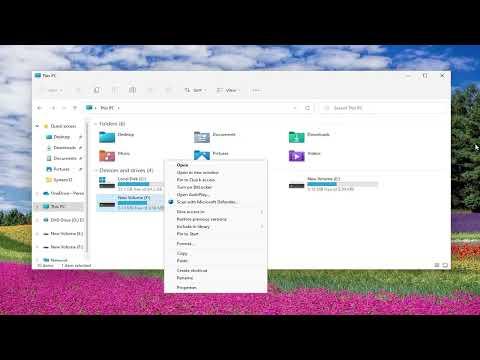
How To Remove Network Drive On Windows 11/10 [Tutorial]