I remember the day I was working on a crucial project report in Excel, and I was about to finalize everything for presentation. I had meticulously formatted all my data, ensuring it was accurate and comprehensive. But as I approached the final steps, I encountered a challenge I hadn’t anticipated: I needed to save my Excel sheet as a PDF in landscape orientation, and I wasn’t entirely sure how to do it. This issue might sound trivial, but for someone who often relies on Excel for professional and personal tasks, it was a significant obstacle.
The problem was straightforward but frustrating. My Excel spreadsheet was detailed, with columns and rows that were too wide for the default portrait orientation of a PDF. I needed to convert it to PDF while preserving the landscape view to ensure that all the data was visible and neatly presented. I knew that Excel had built-in options to handle different orientations, but the process wasn’t immediately clear to me. It was essential to get this right because the PDF would be sent to clients and stakeholders, and a poorly formatted document could reflect badly on the quality of my work.
Initially, I tried a few basic methods. I went to the “File” menu, selected “Save As,” and chose PDF as the file type. However, this default method didn’t allow me to adjust the orientation. The PDF was saved in portrait mode, and it didn’t fit my spreadsheet’s landscape layout. Frustrated but determined, I decided to dig a little deeper into Excel’s settings to find a solution.
Here’s the step-by-step process I eventually followed to successfully save my Excel file as a PDF in landscape orientation. It turned out to be quite simple once I knew where to look:
First, I opened the Excel file that I wanted to convert. My spreadsheet was ready, with all data and formatting in place. To adjust the orientation, I had to access the “Page Layout” tab in the Excel ribbon. This tab contains various options for configuring how the worksheet will be printed, and it’s where I could set the orientation before exporting to PDF.
In the “Page Layout” tab, I clicked on the “Orientation” button. A drop-down menu appeared, offering two options: Portrait and Landscape. I selected “Landscape” because I wanted my PDF to be in that orientation. This change adjusted the print layout to landscape, which meant my spreadsheet would now fit better on the page when converted to PDF.
After setting the orientation to landscape, I needed to ensure that the data would fit properly on the page. To do this, I clicked on the “Size” button in the “Page Layout” tab. Here, I chose the appropriate paper size for my PDF. I usually select “A4” or “Letter” size, depending on the standards I need to adhere to. Choosing the right paper size helps in preventing any content from being cut off or poorly formatted in the final PDF.
Next, I had to verify how my data would look when printed. I clicked on the “File” tab and selected “Print.” This step was crucial as it gave me a preview of how the worksheet would appear in landscape orientation. In the print preview window, I could see if any adjustments were necessary. If the content still looked cramped or was not aligned properly, I returned to the “Page Layout” tab and adjusted the margins, scaling, or even the page breaks.
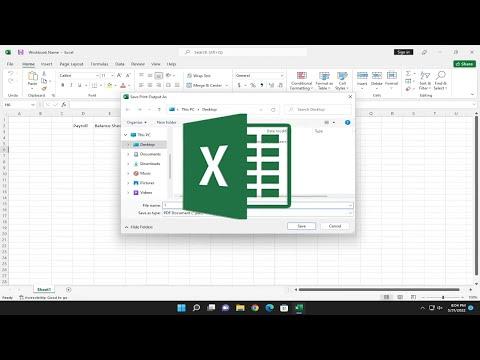
Once I was satisfied with the print preview, I was ready to save the file as a PDF. I clicked on the “File” tab again and selected “Save As.” In the “Save as type” drop-down menu, I chose “PDF.” Before finalizing the save, I ensured that the “Optimize for” setting was set to “Standard (publishing online and printing),” which is generally the best option for maintaining the quality of the document.
Finally, I clicked “Save,” and Excel generated the PDF in landscape orientation. I opened the newly created PDF to double-check that everything appeared as intended. The landscape orientation was preserved, and all the data was neatly formatted and visible. The process had been a bit of a learning curve, but it was manageable once I understood the steps involved.
By following these steps, I was able to overcome the challenge of saving my Excel spreadsheet as a PDF in landscape orientation. This experience taught me the importance of exploring Excel’s page layout options before finalizing any document for sharing or printing. It also reinforced the value of being thorough in preparing files for professional use.
Now, whenever I need to convert an Excel sheet to PDF, I’m confident in handling the orientation and formatting issues. The key takeaway is that Excel provides all the necessary tools to manage page setup and orientation; it’s just a matter of knowing where to find and use them effectively.