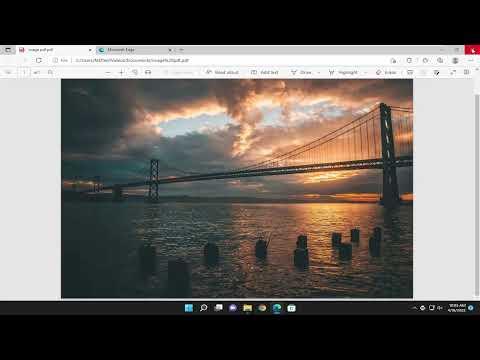
I recently found myself in a situation where I needed to save a screenshot as a PDF, but I wasn’t sure how to go about it. It all started when I was working on a project that required me to collect various pieces of information from different applications and websites. I had taken several screenshots to gather the necessary details, but my goal was to compile them into a single, easily accessible PDF file.
Initially, I assumed that I could use some sophisticated third-party software for this task, but I soon realized that the Photos app in Windows 11 could handle the job with a bit of creativity. The challenge was to figure out how to leverage the built-in capabilities of the Photos app to convert my screenshots into a PDF format, and this is how I managed to do it.
The first step in the process was to ensure that all my screenshots were collected and stored in a single folder. This made it easier to organize and access them when I was ready to start the conversion. I made sure that each screenshot was named appropriately to keep track of the order in which I wanted them to appear in the PDF.
Once I had all the screenshots in one place, I opened the Photos app on my Windows 11 computer. I did this by simply searching for “Photos” in the Start menu and selecting the Photos app from the search results. The Photos app is a powerful tool that allows users to view, edit, and organize their images, and it also has some useful features that we can utilize for this task.
After opening the Photos app, I navigated to the folder containing my screenshots. To begin the process of creating a PDF, I needed to select the images I wanted to include. I did this by holding down the “Ctrl” key on my keyboard while clicking on each screenshot. This allowed me to select multiple images at once. Once I had all the desired screenshots selected, I right-clicked on one of the images to open the context menu.
In the context menu, I chose the “Print” option. This opened up the Print Pictures dialog box, which is where the magic happened. In this dialog box, there were several options to configure, including the printer selection, paper size, and layout. For my purpose, I needed to choose the “Microsoft Print to PDF” option from the list of available printers. This virtual printer would allow me to convert the images into a PDF format.
Next, I adjusted the settings in the Print Pictures dialog box to fit my needs. I selected the desired paper size and layout for the PDF. Since my screenshots were in portrait orientation, I opted for the “Portrait” layout. I also made sure to set the paper size to match the dimensions of my screenshots, which was typically A4 for my project.
After configuring the settings, I clicked the “Print” button. A new dialog box appeared, prompting me to choose a location to save the PDF file. I entered a file name and selected the folder where I wanted the PDF to be saved. Once I clicked “Save,” the Photos app processed the screenshots and generated the PDF file.
When the process was complete, I navigated to the folder where I had saved the PDF and opened it to review the results. The PDF contained all the selected screenshots in the order I had chosen, and the quality of the images was preserved. I was pleased to see that the Photos app had successfully converted my screenshots into a professional-looking PDF document.
This method of using the Photos app in Windows 11 to save screenshots as a PDF proved to be surprisingly efficient and straightforward. It saved me the trouble of installing additional software and allowed me to make use of the built-in features of Windows. I was able to complete my project with minimal hassle, and I learned a valuable technique for future use.
In conclusion, the Photos app in Windows 11 provides a convenient way to convert screenshots into a PDF format by utilizing the “Print” function with the “Microsoft Print to PDF” virtual printer. By following a few simple steps, I was able to compile my screenshots into a single, high-quality PDF file without the need for extra software. This approach not only saved me time but also made the process much more manageable.
