I’ve always been someone who values organization and efficiency, especially when it comes to managing files on my computer. Recently, I found myself wrestling with a frustrating issue in Windows 11: my folder views were inconsistent, and I had to manually adjust each one to fit my preferred layout. It felt like a never-ending battle to get everything looking just the way I wanted. I decided it was time to tackle this problem once and for all.
The root of the problem was that every time I opened a new folder, it would revert to the default view settings, which were not always what I needed. I wanted a unified folder view across all directories to save time and make navigating my files more intuitive. I researched how to set a default folder view for all folders and came across several solutions, but many were either outdated or too complex. Determined to find a straightforward and effective method, I decided to delve into the settings and configurations of Windows 11 myself.
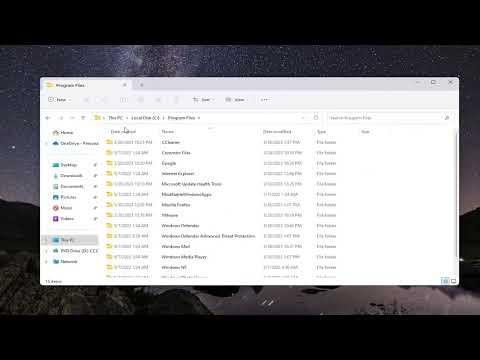
First, I navigated to File Explorer, which is the gateway to managing folders and files in Windows. To start, I opened any folder, such as “Documents” or “Pictures,” and set it up exactly how I wanted the default view to be. For instance, I chose the “Details” view because it provides a clear layout with essential information like file size and date modified. I organized the columns to display only the data I find useful, which helped in decluttering the view.
Once I had the folder set up to my liking, the next step was to make this layout the default for all folders. I clicked on the “View” tab at the top of File Explorer and selected “Options” from the dropdown menu. This action opened the Folder Options dialog box. Here, I focused on the “View” tab within the Folder Options dialog. I needed to make sure that the settings I was about to configure would be applied to all folders, not just the current one.
In the Folder Options dialog box, I found the “Folder views” section. This section allows you to apply the current folder view settings to all folders of the same type. I clicked on the “Apply to Folders” button. A prompt appeared asking if I wanted to apply the current view settings to all folders of this type. I confirmed my choice by clicking “Yes.” This action set the “Details” view as the default for all folders of the same type.
To ensure that the changes were applied correctly, I tested by opening various folders across different directories. I noticed that all folders were now displayed in the “Details” view, which was a huge relief. However, I wanted to make sure this adjustment would be reflected in other folder types as well. To address this, I repeated the process for other folder types like “Pictures” and “Music,” making sure each type of folder had its preferred view settings applied.
By delving into these steps, I was able to achieve the ultimate goal of having a consistent folder view across my entire system. This not only saved me time but also improved my overall efficiency in managing files. The uniformity in folder views made navigating through my directories much smoother, and I could focus more on the tasks at hand rather than constantly adjusting folder settings.
In summary, setting a default folder view for all folders in Windows 11 involves configuring a folder with the desired view settings and then applying those settings to all folders of the same type through the Folder Options dialog. This method ensured that my file management became more streamlined and organized, providing a more pleasant and efficient experience.
