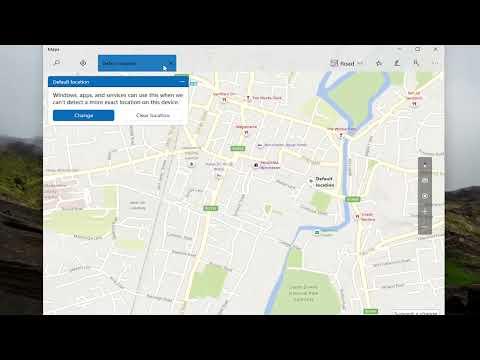
When I first started using Windows 11, I encountered a challenge that I hadn’t anticipated. I was setting up my new computer and wanted everything to be as efficient as possible. One of the tasks I wanted to tackle was setting the default location of my PC, which I had learned could significantly streamline my workflow. However, I quickly realized that finding the right settings to adjust this could be more complex than I’d imagined.
Initially, I thought the process would be straightforward. After all, it seemed like a basic feature that should be easy to configure. But as I began exploring the various settings, I found that Windows 11 didn’t present an obvious, one-click solution. I had to delve deeper into the system settings to figure out how to set the default location for my PC.
The issue became more apparent when I was trying to organize my files and applications. I had a specific folder structure in mind and wanted to ensure that any new files or apps would automatically align with my setup. Windows 11, like its predecessors, allows you to set default save locations for certain types of files, but I was looking for a more comprehensive approach.
To start, I navigated to the Settings app. I went to the “System” section, hoping to find something there that would directly allow me to set a default location. There, I noticed options related to storage but didn’t immediately see a way to configure the default location for everything. It seemed like a task that required a bit more finesse and understanding of how the OS handles file paths.
My next step was to explore the “Storage” settings in more detail. I discovered an option labeled “Advanced storage settings,” which included settings for “Where new content is saved.” This was closer to what I was looking for. I realized that Windows 11 lets you specify default save locations for different types of files like documents, music, photos, and videos. I selected the drives and folders where I wanted these types of files to be saved by default.
This adjustment helped, but I wanted to take it further. My goal was to configure a default location that would apply to more than just the file types Windows 11 directly allows you to adjust. To achieve this, I had to take a different approach.
I remembered that Windows 11 also supports changing the default location for some system folders. To do this, I right-clicked on the folder (such as Documents, Downloads, etc.) and selected “Properties.” Under the “Location” tab, I found an option to move the folder to a new location. This allowed me to redirect these important system folders to a drive and path of my choice.
The process wasn’t just about changing locations; it was also about ensuring that all new data and applications followed these settings. One of the critical tasks was to configure where new applications are installed. For this, I went back to the “Settings” app, this time navigating to “Apps” and then “Apps & features.” There, I found an option called “Install apps on the drive,” where I could specify the default drive for new applications.
With these steps completed, I tested the new setup to ensure everything was functioning as expected. I saved various types of files and installed a couple of new applications, checking to see if they went to the designated default locations. Everything worked smoothly, which was a relief. The entire setup process turned out to be a bit more involved than I initially thought, but it was manageable once I understood where to look and how to make the changes.
Reflecting on the experience, it was clear that setting the default location of your PC in Windows 11 required a blend of exploring system settings and making adjustments to specific folders and application preferences. The ultimate goal was to create an organized environment that catered to my needs, and with some patience and attention to detail, I was able to achieve that. The process taught me a lot about Windows 11’s capabilities and how to fine-tune them to fit my personal workflow.
